


Table of contents
Picture a custom internal tool that needs to pull new entries off your contact form every few minutes, or a support system that should read a lead’s message the moment it lands. The REST API integration lets any external application do exactly that, using your own IvyForms site as the data source.
The REST API feature is available on Agency and Elite plans only. It’s built for developers, and using it isn’t covered by regular support.
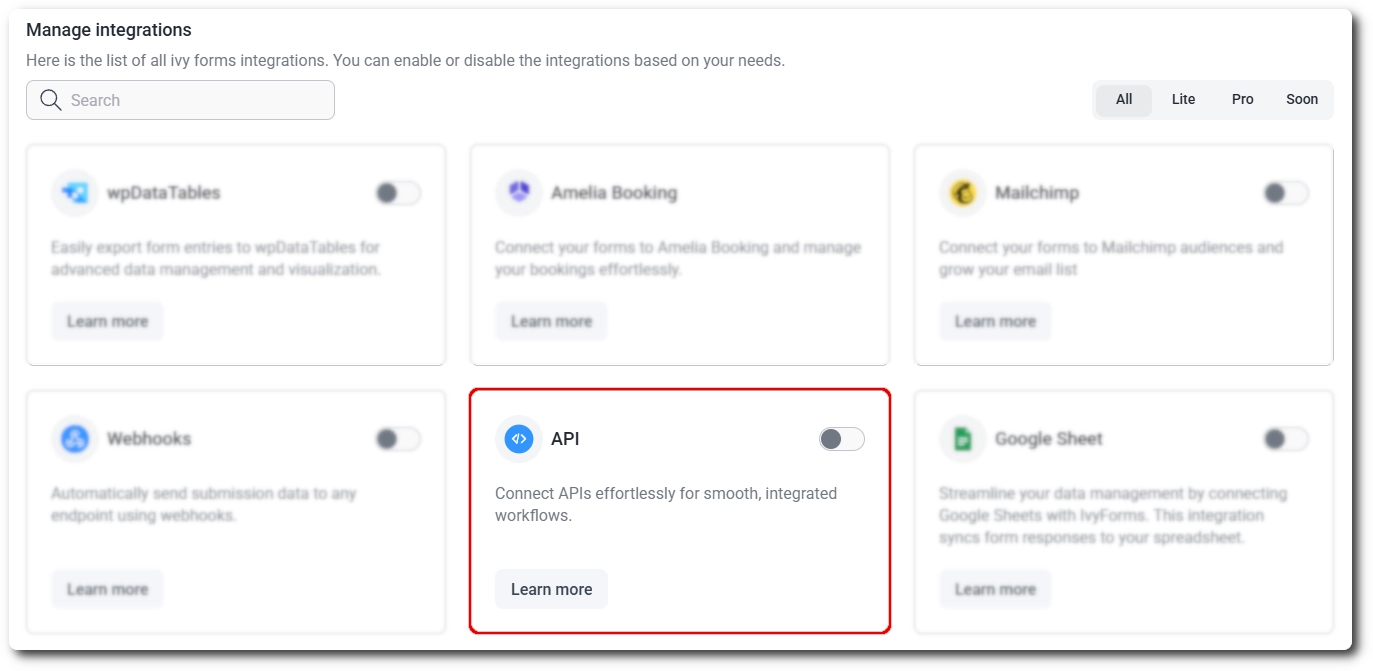
You enable the REST API by turning on the API toggle under IvyForms → Integrations. Once it’s on, you’re automatically redirected to Settings → Integrations → API, where you generate and manage your API keys.
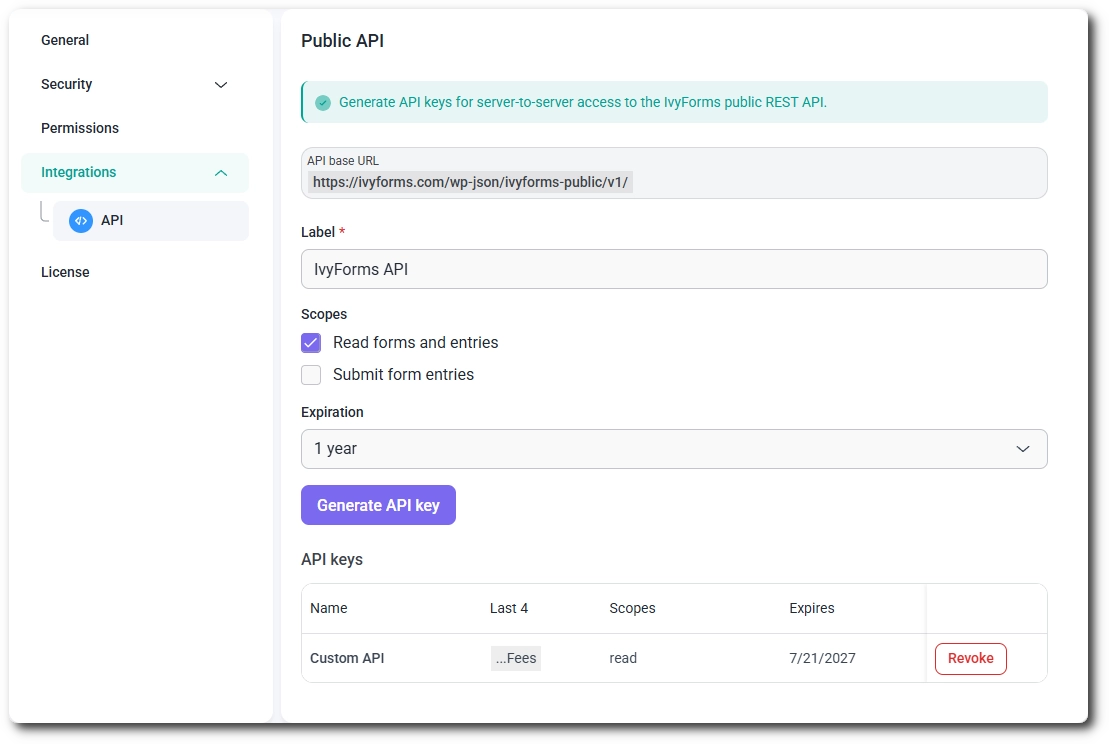
On the Public API screen, enter a Label for the key so you can recognize it later, choose which Scopes it should have, and pick an Expiration. Then click Generate API key.
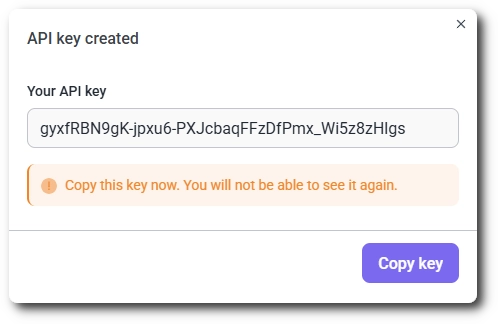
Copy the key immediately after generating it. Once you close the popup, IvyForms only shows the last four characters in the key list, and the full key can’t be viewed again.
Each key appears afterward in the API keys table with its name, last four characters, scopes, and expiration date. You can generate as many keys as you need, and revoke any of them at any time using the Revoke button.
Each key has two possible scopes, and you can enable either or both on the same key:
A key without the Submit form entries scope can’t create entries, and a key without Read forms and entries can’t list or fetch them.
Every request must include your API key in an X-IvyForms-Api-Key header:
X-IvyForms-Api-Key: YOUR_API_KEY
All endpoints are namespaced under /wp-json/ivyforms-public/v1/ on your own site. There’s no shared or third-party server involved; you’re always talking directly to your own installation.
For the full endpoint reference with example requests and responses, refer to the How to manage forms and entries using the IvyForms REST API documentation.