
Table of contents
A long feedback form feels like a chore when every field is stacked on one page. A conversational form turns the same fields into a guided, chat-style flow, showing one question at a time so the respondent moves through it step by step instead of scanning a wall of inputs.
Conversational forms are a Pro feature, available from the Essentials plan and above.
The difference is how fields are grouped into steps. In a multi-page form, each page can hold several fields. In a conversational form, every single field is its own step on the front end; there’s no grouping fields together on one screen.
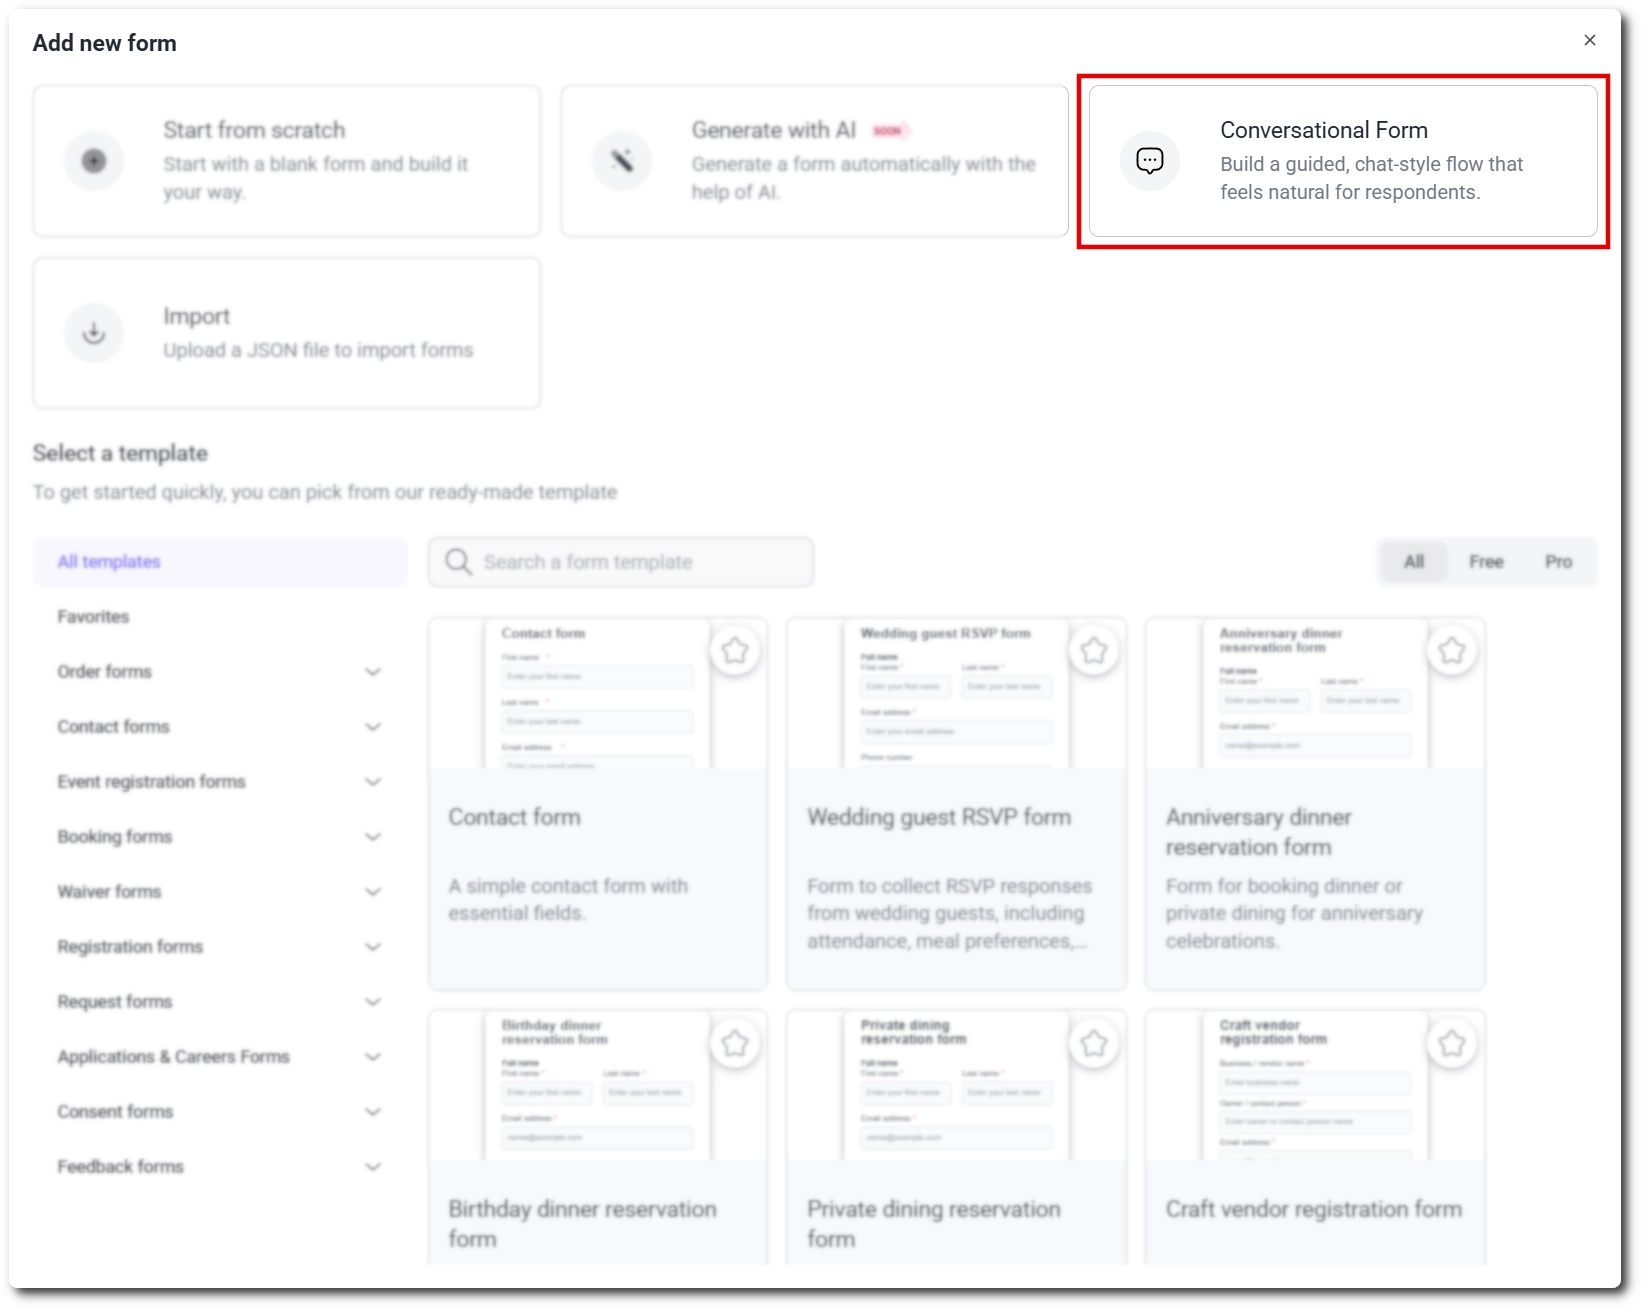
You create a conversational form the same way you start any new form in IvyForms. Go to IvyForms → New form and then choose Conversational Form from the options shown alongside Start from scratch and Import. Selecting it takes you straight into the Build step, with a Welcome page already enabled above your fields.
Because the conversational experience can’t be previewed step by step in the back end, the builder shows the welcome step and all your fields stacked on one canvas, with a gap between each one. On the front end, each of those fields still becomes its own individual step for the respondent.
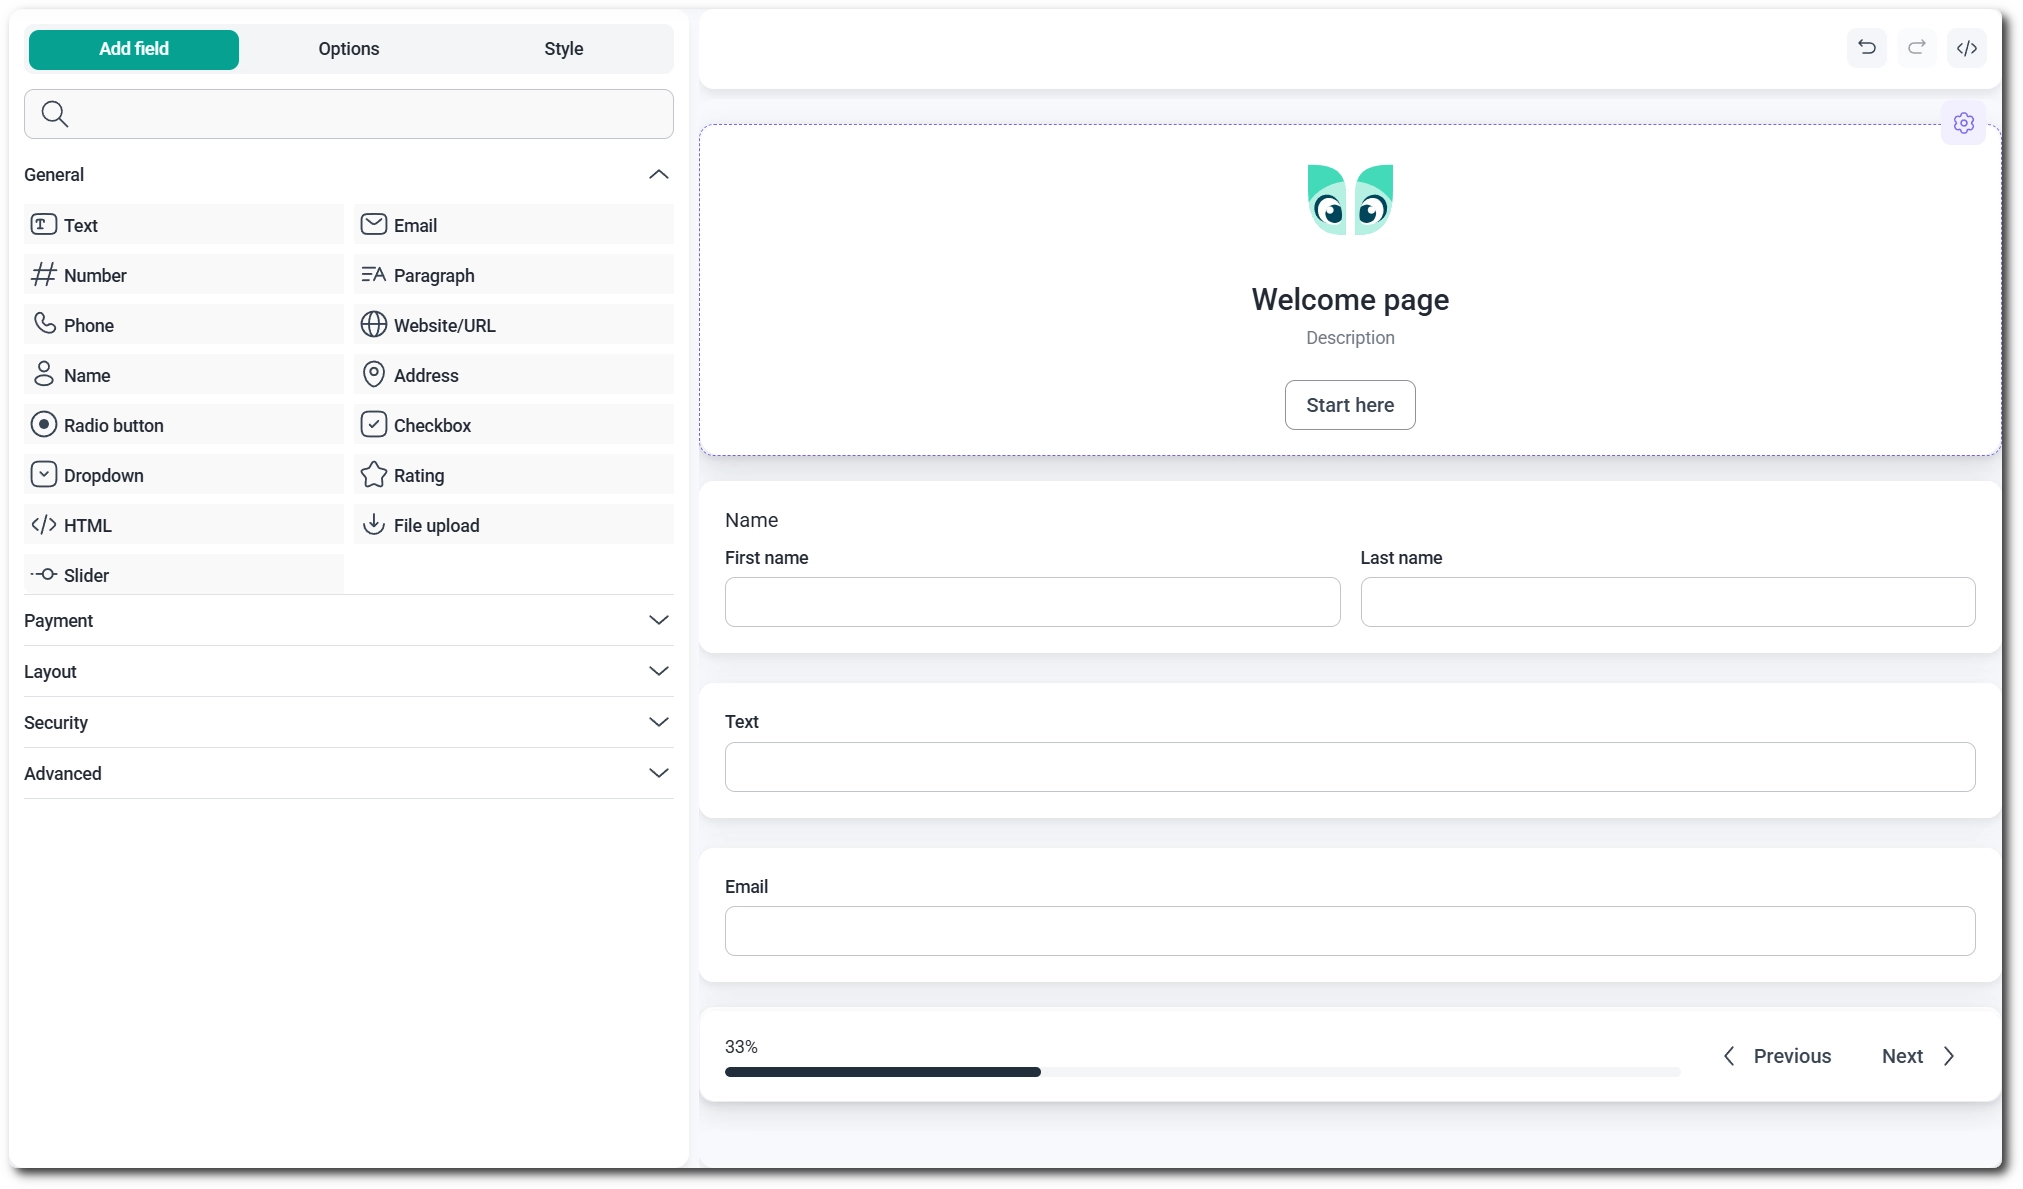
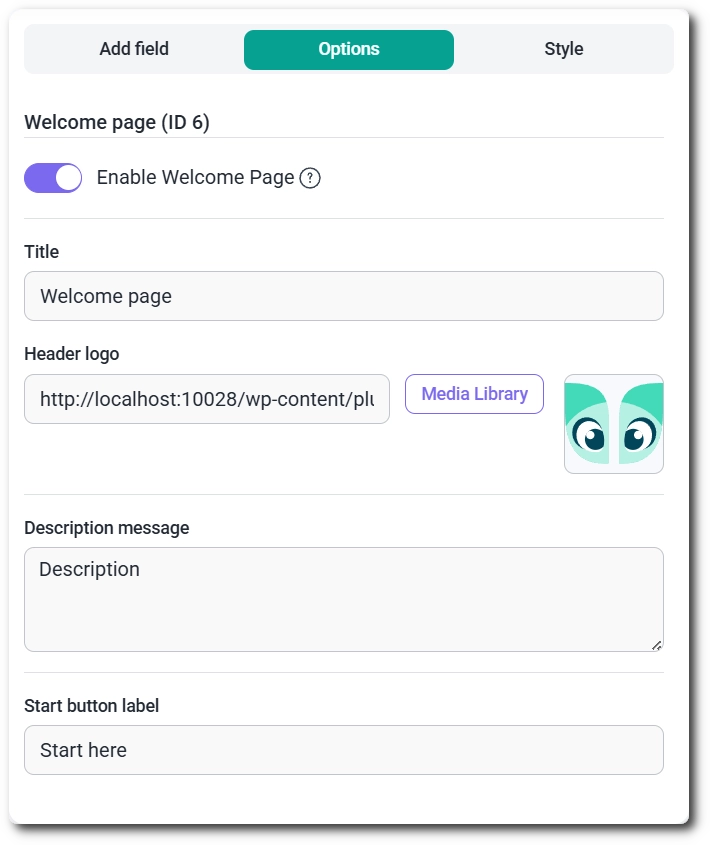
A conversational form opens with a Welcome page by default – the first thing a respondent sees before the fields start. Click it on the Build canvas to open its options on the left, where you can toggle Enable Welcome Page off if you’d rather skip straight to the first field.
With the welcome step enabled, you can set a Title, a Header logo (uploaded through the Media Library), a Description message, and the label shown on the Start button that moves respondents into the form.
You add fields to a conversational form the same way as any other form: click a field in the Add field panel to drop it onto the canvas below the welcome step. Each field’s own settings work exactly as they do in any other form, so configuring them isn’t any different here.
You style a conversational form from the Style tab, next to Add field and Options in the builder. From there you can upload a background image, set colors, and adjust the other look-and-feel options that apply to the form. For a full breakdown of what’s available, see the Style tab documentation.
Entries from a conversational form are stored and displayed the same way as entries from any other IvyForms form. There’s no separate view or format; you find them in the same entries table you’d use for a standard or multi-page form.
You can turn any existing form into a conversational form, and convert it back, from the form’s Settings tab at the top of the builder. Toggle Enable Conversational Form on to switch a classic or multi-page form into a conversational one.
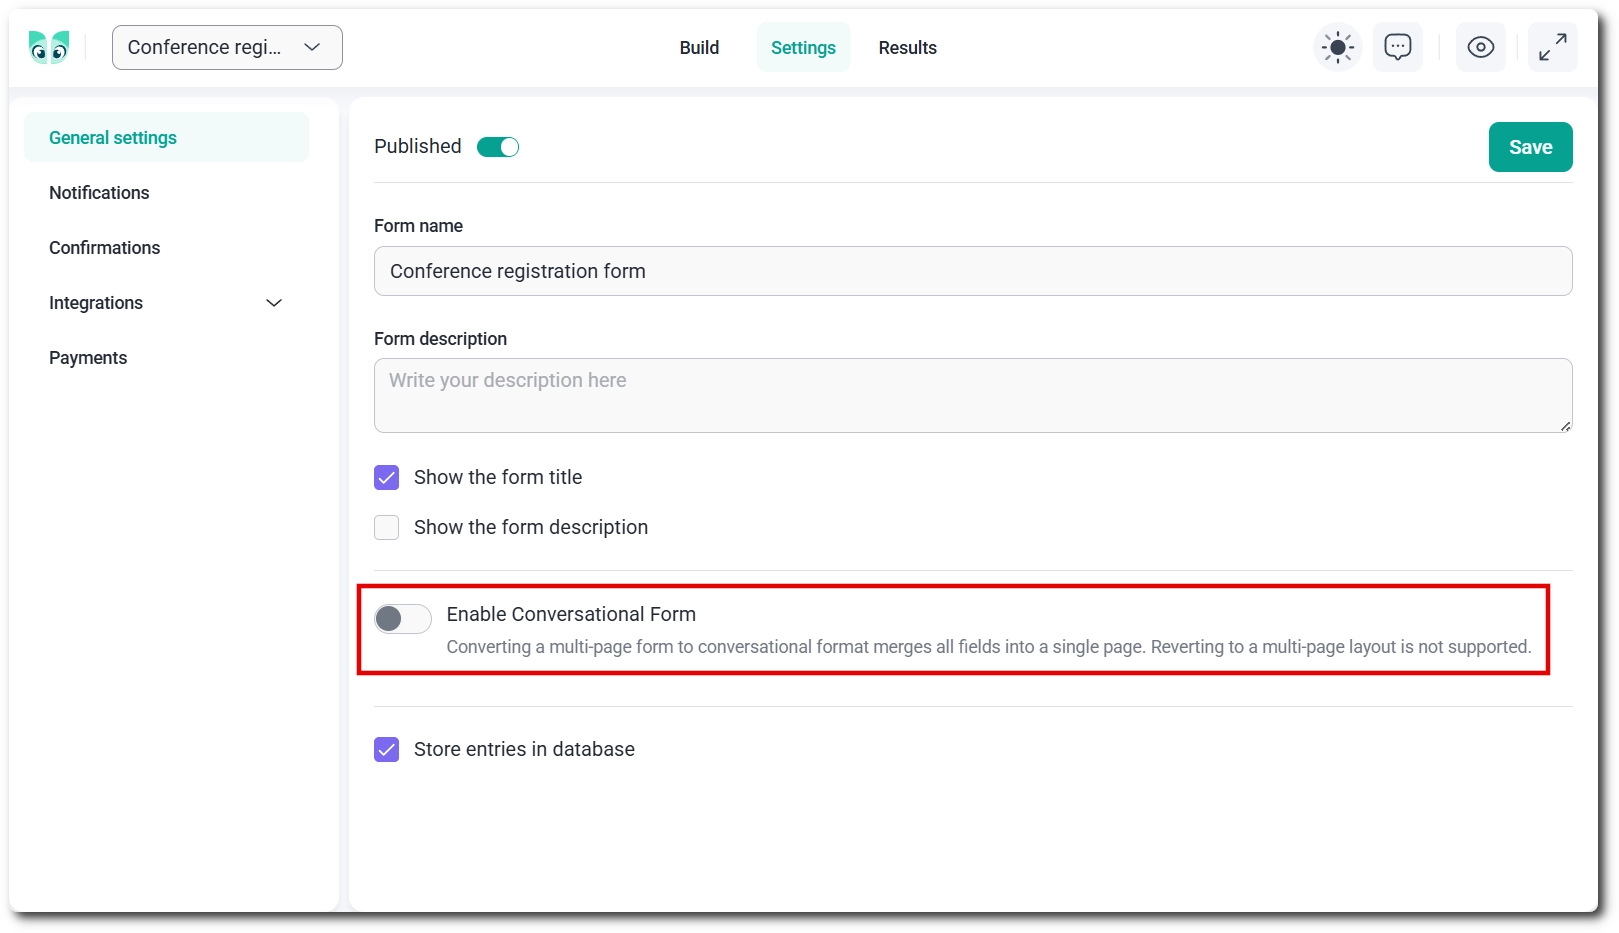
Turning on Enable Conversational Form merges all of a multi-page form’s fields onto a single page, and you can’t switch it back to a multi-page layout afterward. A confirmation popup appears before the change is applied, so you get one chance to cancel.
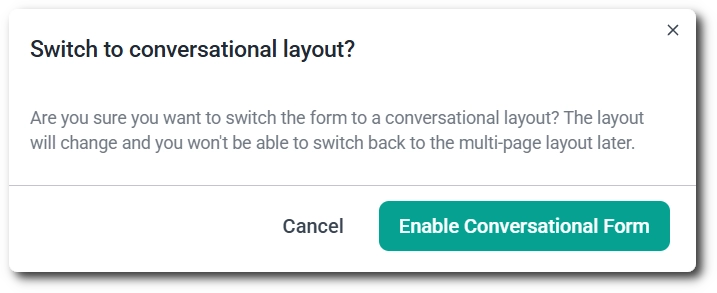
The reverse works the same way: turning Enable Conversational Form off on a conversational form places all its fields onto a single page, giving you a standard classic form rather than a multi-page one.
Once a form is conversational, its settings also show a Permalink field, where you can set a custom slug so the form always opens at that dedicated URL, for example https://ivyforms.com/conv-form/. Below it, the Disable branding checkbox controls the Made with IvyForms link that otherwise appears at the bottom of the form on the front end; ticking it removes that link.
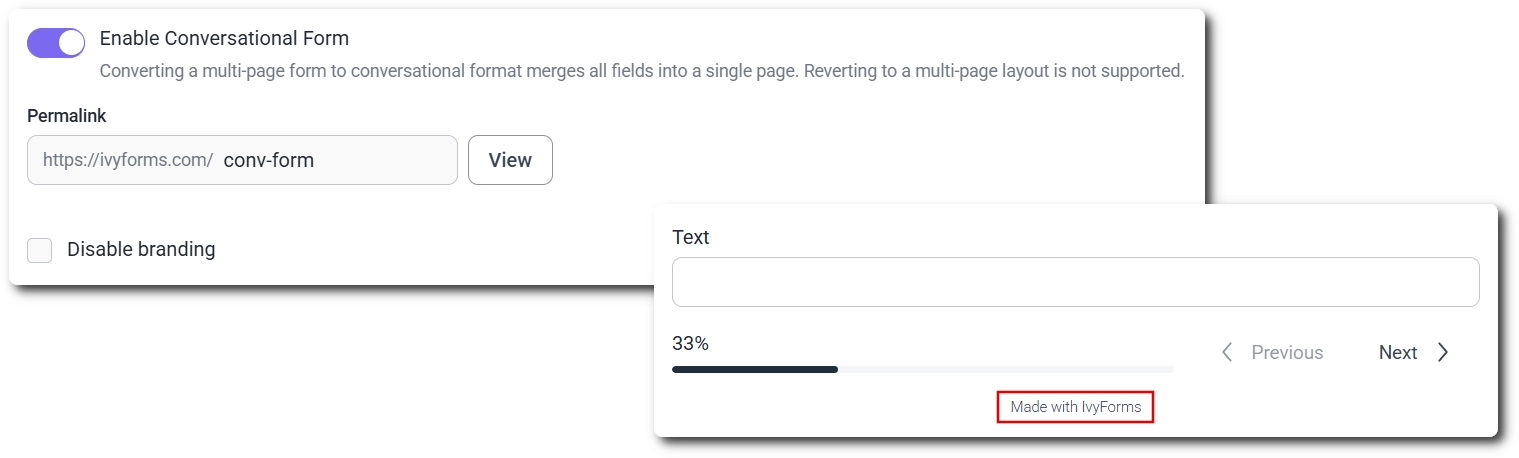
With the permalink and branding set the way you want, your conversational form is ready to publish. From here, respondents move through it one field at a time, starting at the welcome step if you’ve kept it enabled.