


Table of contents
Say you run a small events business and collect RSVPs through an IvyForms form. Instead of exporting entries or copying them over by hand, you can have every submission land straight in a spreadsheet you already share with your team, in real time, mapped to whichever columns you choose.
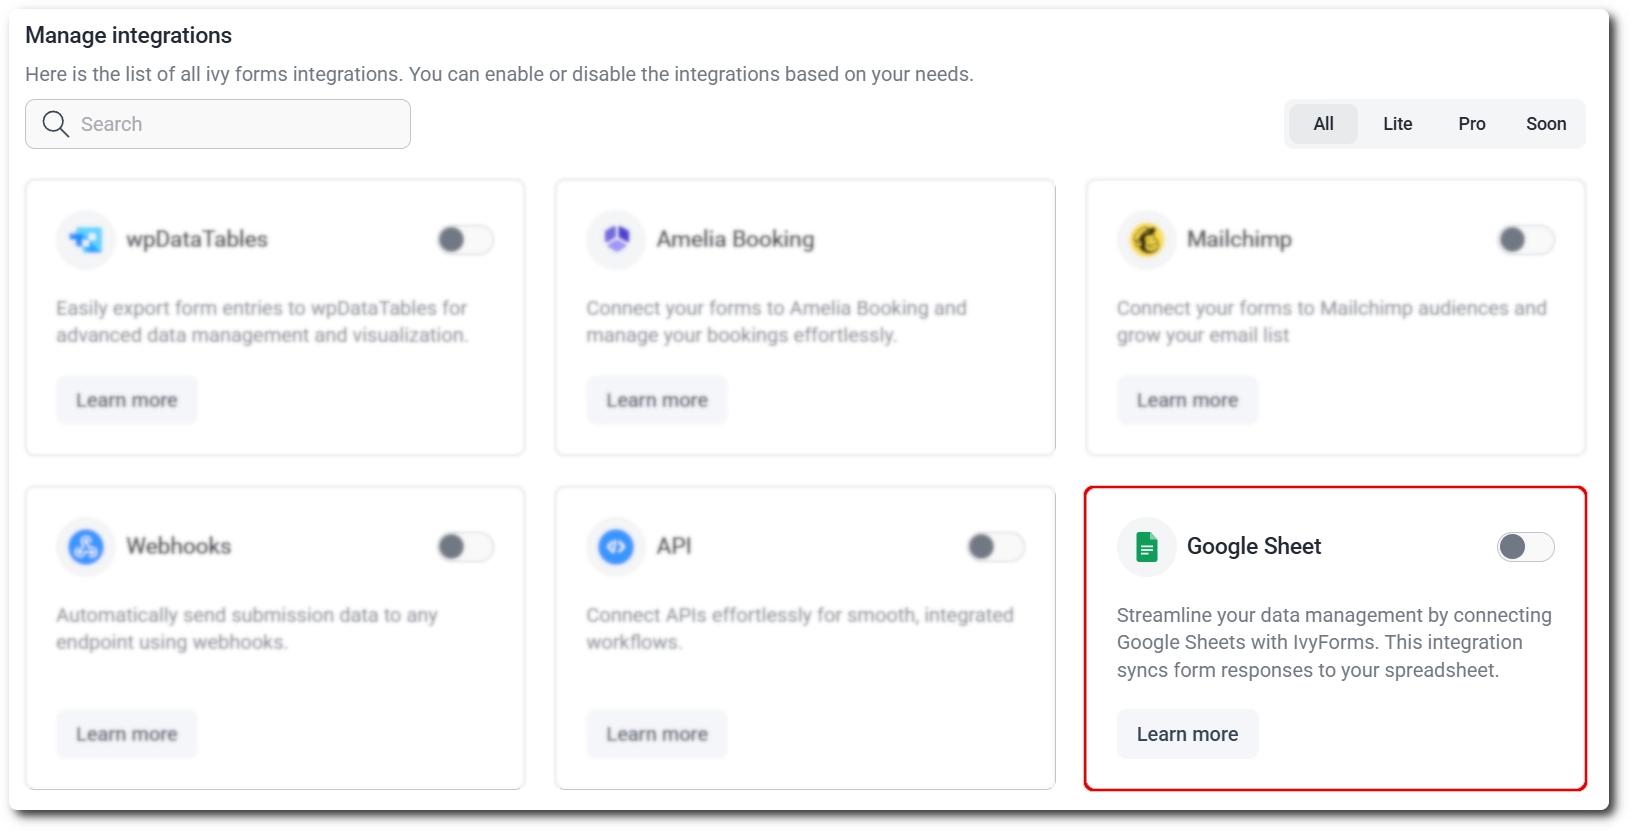
You enable Google Sheets the same way as other integrations, from IvyForms → Integrations in your WordPress dashboard. Find Google Sheets in the list and turn it on with the toggle. Enabling it redirects you automatically to Settings → Integrations → Google Sheet, where you’ll connect your account next.
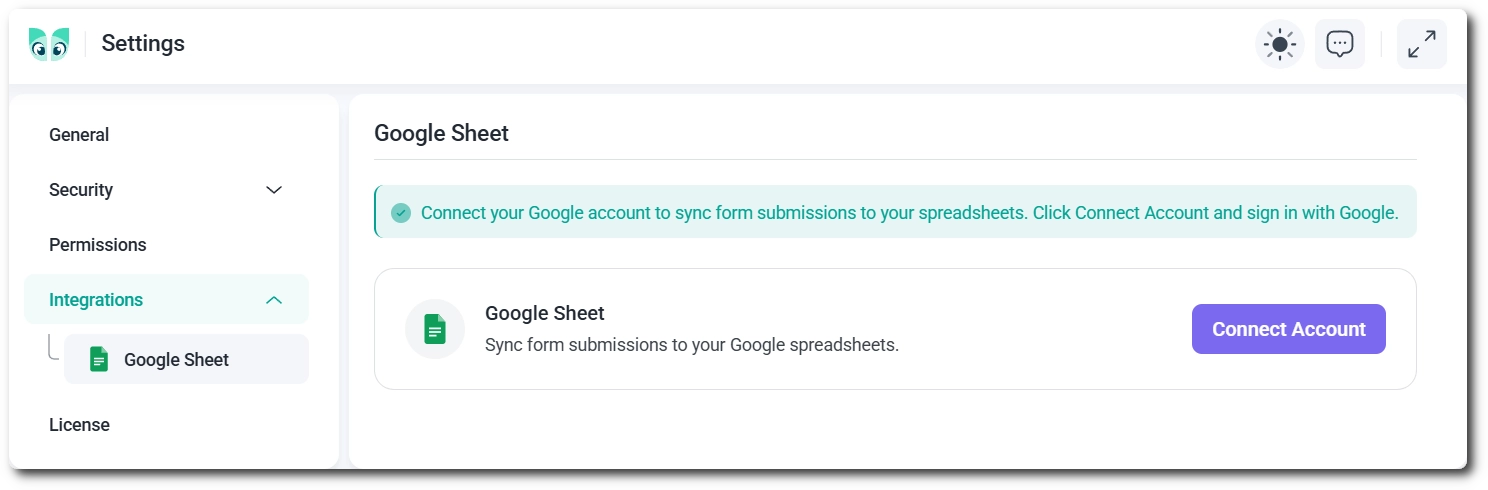
On the Google Sheet settings screen, click Connect account. This opens Google’s own account chooser, where you pick the Google account whose spreadsheets you want IvyForms to access. After selecting an account, Google shows a permissions screen; approve it to let IvyForms read your spreadsheets and add new rows to them.
Only one Google account can be connected at a time.
IvyForms can only read spreadsheets that are published to the web. In Google Sheets, open File → Share → Publish to web for any sheet you want to use with this integration.
Google Sheets OAuth only works on domains registered with IvyForms’ Google Cloud app (production and known staging environments). On a local install, you may see “Google Sheets OAuth is not configured on this site”; this is expected on unregistered domains and isn’t something to fix on your end. Test the integration on a publicly reachable staging or production site instead.
To disconnect, go to Settings → Integrations → Google Sheet and click Disconnect. A confirmation dialog appears warning that all connection data will be lost; click Disconnect again to confirm, or Cancel to back out.

Disconnecting removes the account-level connection entirely, so any Google Sheet integrations already configured on your forms will stop syncing until you reconnect an account and reconfigure them.
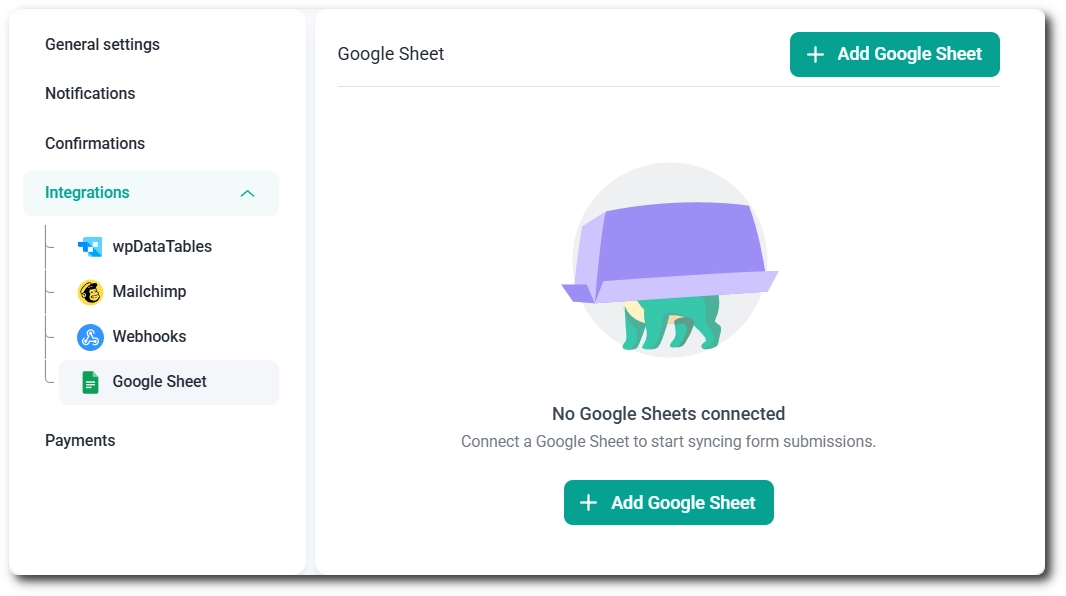
Connecting your account gives IvyForms access to your spreadsheets, but you still need to add the integration on each form you want it to run on. Open the form, click Settings at the top (between Build and Results), then go to Integrations → Google Sheet. The panel is empty until you create one, so click + Add Google Sheet to open the editor.
Once you click + Add Google Sheet, pick the Spreadsheet you want to send entries to, then the Worksheet name (the specific tab within that spreadsheet). Below that, Map fields lets you connect each form field to a spreadsheet column; use the + icon to add another mapping row and – to remove one.
IvyForms always writes new entries to the last row of the sheet, regardless of how Smart logic below is configured.
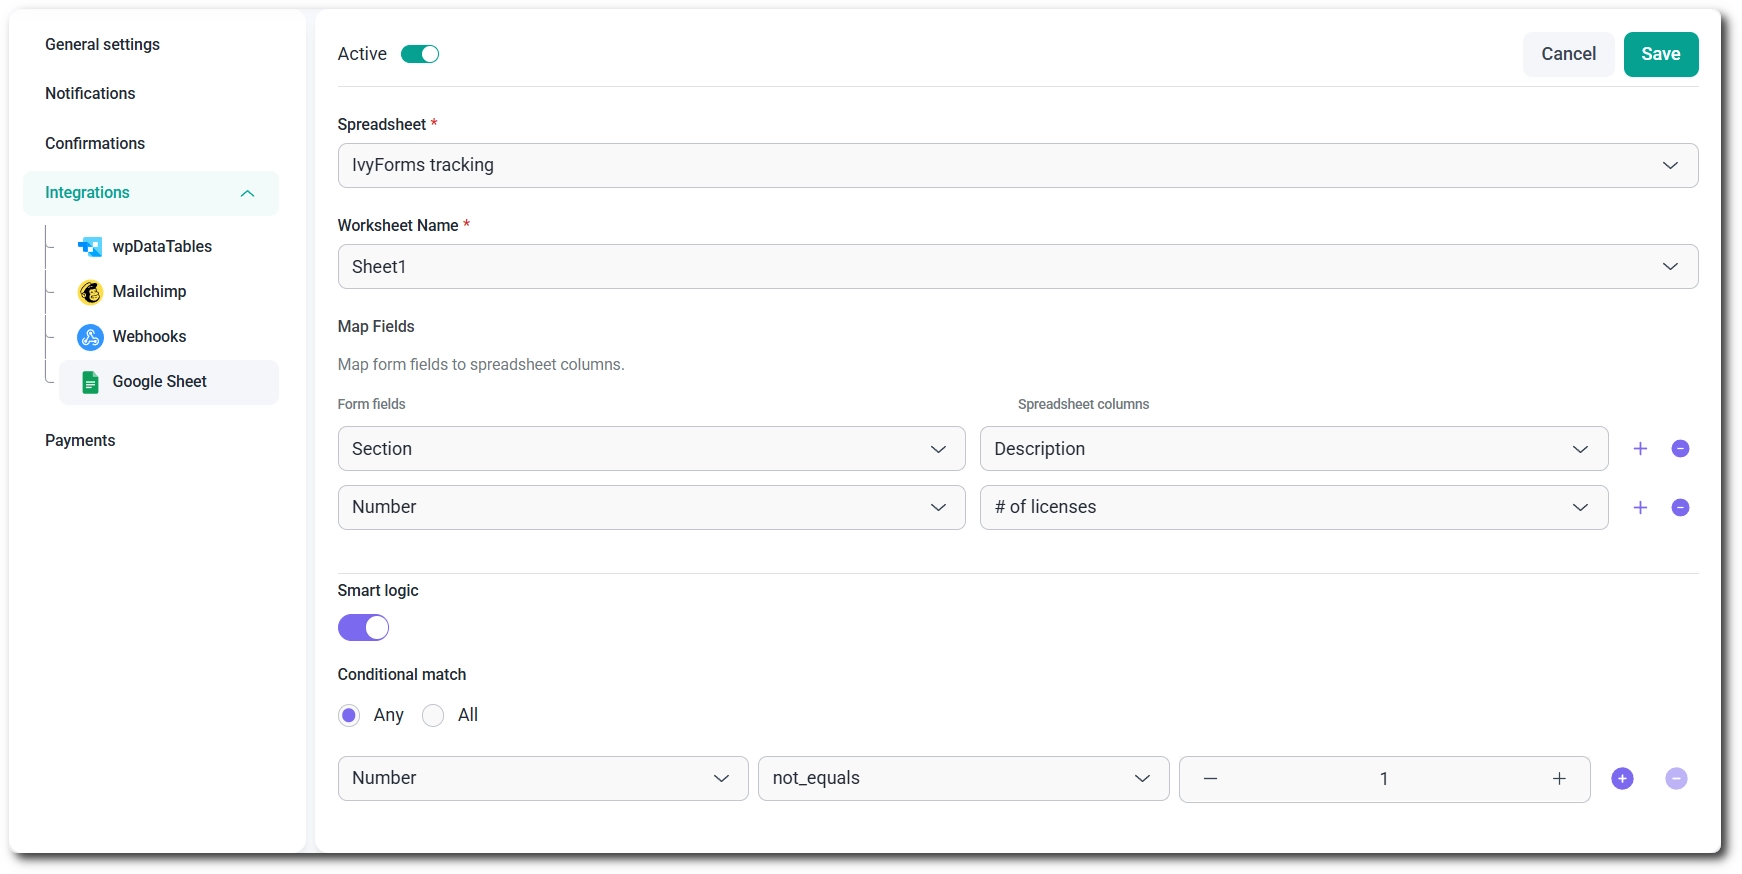
Yes, the Smart logic toggle at the bottom of the editor sends the entry to your sheet only when the visitor’s answers match conditions you set, instead of on every submission. Turn it on and build rules from a form field, a condition such as not_equals, and a value. The Conditional match option controls how rules combine: Any fires the sync if at least one rule matches, All requires every rule to match.
For example, a rule set to a Number field not_equals 1 logs the entry only when that field’s value isn’t 1. For the full detail on conditions and values, refer to the conditional logic documentation.
Smart logic is available on Pro plans only. On the free plan, every entry is sent to the sheet with no conditional filtering.
On the free plan, you can connect one Google account and one Google Sheet integration per form. Pro plans let you connect multiple Google Sheets to the same form at once, each with its own worksheet and field mapping. Each connection runs independently, so if one integration’s sync fails, it doesn’t affect the others on the same form.
The Google Sheets integration sends form entries straight to a spreadsheet without exporting or copying data by hand. Enable it from IvyForms → Integrations, connect your Google account once, then add and configure the integration separately on each form. Remember to publish your spreadsheet to the web first, and use Smart logic on Pro if you only want certain entries logged.