
Table of contents
Say you run an online workshop and want attendees to pay for their seat as part of the registration form, without leaving your site. The Payment Method field makes that possible. It adds the payment step to your IvyForms form and charges the customer through the payment provider you have connected when they submit it.
The Payment Method field collects the customer’s payment when the form is submitted. It does not decide how much the customer pays; the amount comes from the other payment fields in your form. What the customer sees in the field, such as card inputs or a provider checkout, depends on the payment provider selected for it.
Payments collected through the field are listed on the Payments page, no matter which provider the customer used.
The field only works when the rest of the payment setup is in place. Before adding it to a form, make sure the following are ready:
The Total field only displays the amount to the customer. The charge is always calculated from the Product and Quantity fields when the form is submitted.
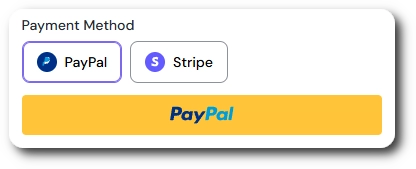
If you select more than one payment method in the field’s Payment Methods setting, the customer sees a button for each connected method above the payment area, and the method they click is the one displayed. Only methods that are selected in the field and connected on your site are offered. If just one method is available, the buttons are not shown and the payment area is displayed directly.
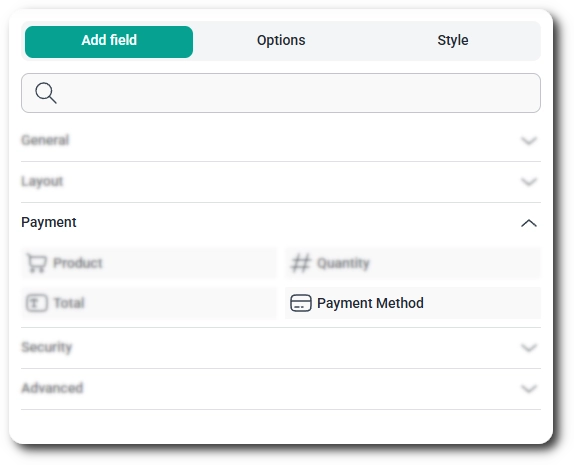
You add the field from the Payment section of the Add field tab in the form builder, next to the Product, Quantity, and Total fields. Once it is added, select it in the preview to open its configuration options.
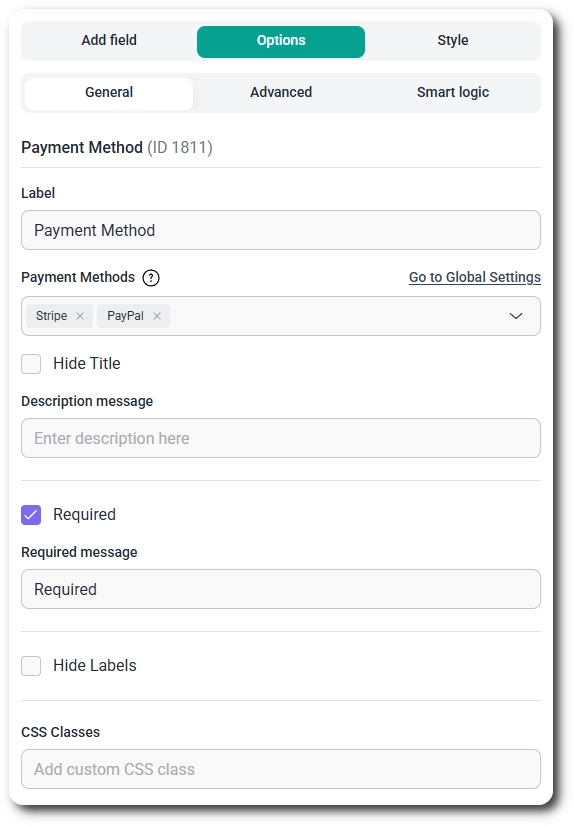
The field’s options are organized into three tabs: General, Advanced, and Smart logic. Which options you see, and how they behave, can differ depending on the payment provider selected, so this article only describes what each tab is for. For the full list of options, refer to the article for the payment provider you use, listed at the end of this page.
The General tab holds the core settings of the field, such as its label, the Payment Methods selection where you choose which connected provider the field uses, and whether the field is required. A Go to Global Settings link above the Payment Methods dropdown takes you straight to the payment settings if you need to connect a provider first.
The Advanced tab is reserved for provider-specific options. Depending on the provider you select, it may contain additional settings or be empty. Check the provider’s integration documentation to see what is available.
The Smart logic tab lets you show or hide the Payment Method field based on conditions from other inputs in the form. For example, you can show the payment step only when a visitor selects a paid option. For details on rules, conditions, and the Any and All match settings, see the conditional logic documentation.
The setup steps, such as enabling the integration, connecting your account, and configuring the provider for each form, are covered in a dedicated article for each payment provider. Once a provider is connected, return to your form, add the Payment Method field, and select it from the Payment Methods dropdown. The following payment integrations are available: