
Table of contents
IvyForms includes a centralized overview where you can view all created forms, manage their status, access entries, and remove forms you no longer need. This page gives you full control over your forms without opening the builder.
You can view all created forms by going to WordPress Dashboard → IvyForms → All Forms. This opens a table that lists every form on your site along with key details and quick actions.
You can view all created forms by going to WordPress Dashboard → IvyForms → All Forms. This opens a table that lists every form on your site along with key details and quick actions.
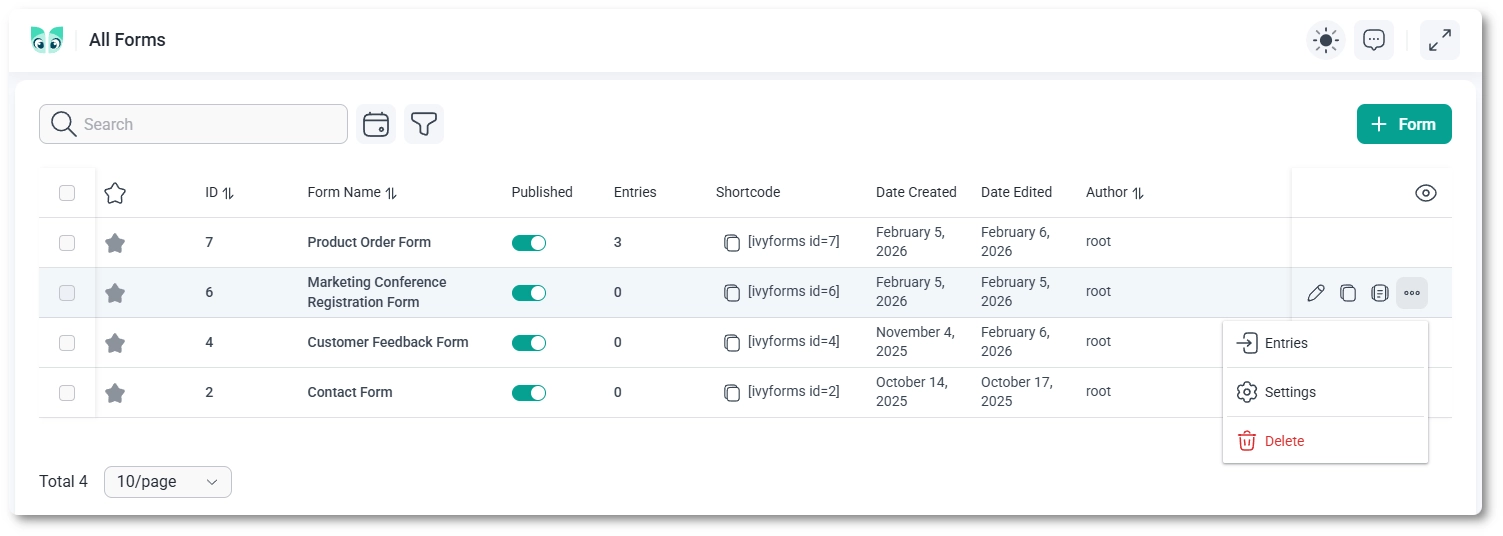
Each row in the forms table represents a single form. By default, the following columns are visible:
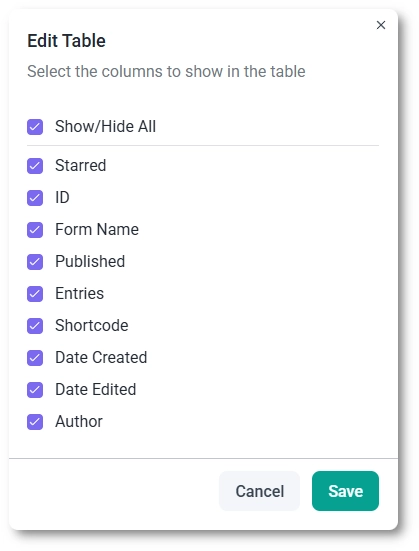
In the top-right corner of the table, click the eye icon to open the column visibility panel. From here, you can choose which columns should be shown or hidden in the table. All columns are visible by default.
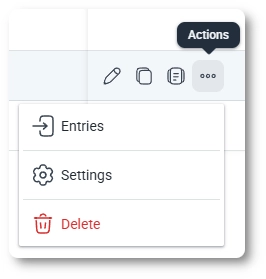
When you hover over a form row, additional action icons appear right below the Column visibility (eye icon). These actions let you manage the form without opening the full builder.
Selecting one or more forms with the checkboxes on the left of the table reveals bulk actions that apply to every selected form at once. Use the master checkbox in the table header to select all forms on the page.
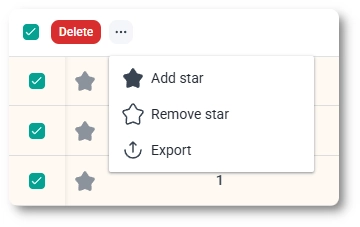
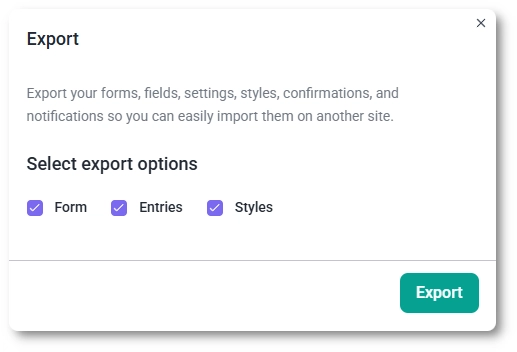
Exporting packages a form into a file you can import on another site, which is useful for moving a form from staging to live or reusing it across projects. You can export a single form from its three-dots Actions menu, or export several at once by selecting them and choosing Export from the bulk three-dots menu. Either way, the export dialog opens.
The dialog lets you choose what goes into the file:
Click Export to download the file. To bring a form in from a file, open WordPress Dashboard → IvyForms → All Forms and click the Import forms button, the icon beside + Form in the top-right, then choose your export file; the form arrives with whatever entries and styles were included.
Yes, you can import forms exported as JSON from WS Form, Fluent Forms, WPForms, and Gravity Forms, as well as from IvyForms. Open WordPress Dashboard → IvyForms → All Forms, click the Import forms button, and choose the JSON file you exported from the other plugin (maximum 5 MB). IvyForms detects which plugin created the file and shows a compatibility notice before you click Import. The import always creates a new form, so it never overwrites an existing one.
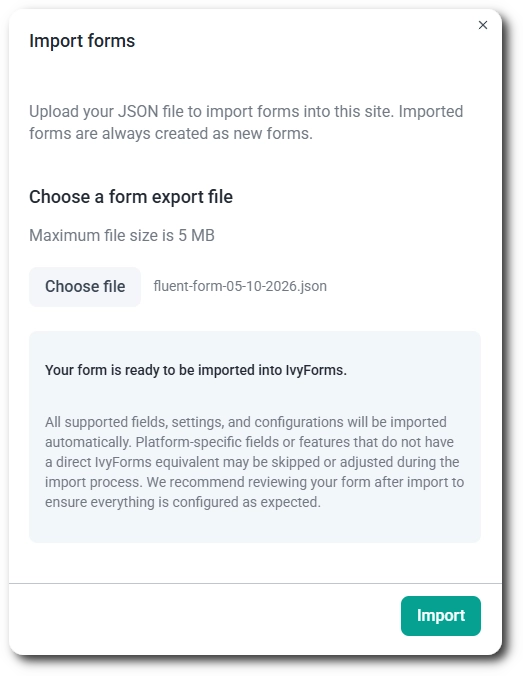
IvyForms converts the supported fields together with their label, placeholder, description, required setting and default value, plus the options of choice fields and the form’s confirmation. Text, email, number, paragraph, phone, website, dropdown, radio, checkbox, date, rating, file upload, and HTML fields are covered, as are name fields from Fluent Forms. WS Form time and range fields become Time and Slider fields. Fields without an IvyForms equivalent, such as signature and captcha, are skipped, and the import does not fail because of them.
WPForms and Gravity Forms imports also convert name and address fields, sections and page breaks, and payment-related fields such as products and totals. A Gravity Forms CAPTCHA becomes a reCAPTCHA field, and WPForms number sliders become Slider fields.
Notifications are not imported. After the import, review the form and recreate your emails in the notifications settings, and check that the confirmation behaves as expected.
Once the form is created, open it in the builder to adjust the layout and styling. For anything the import skipped, add the matching field manually; see What types of fields can I use for the available field types.
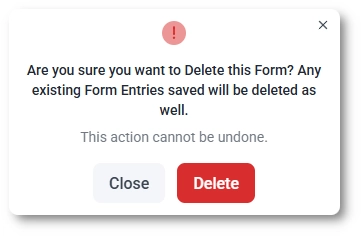
When you choose Delete from the form’s action menu, IvyForms shows a confirmation dialog. Deleting a form permanently removes the form and all associated entries.
This action cannot be undone, so make sure you no longer need the form or its submissions before confirming.
The toolbar above the forms list lets you quickly find specific forms:
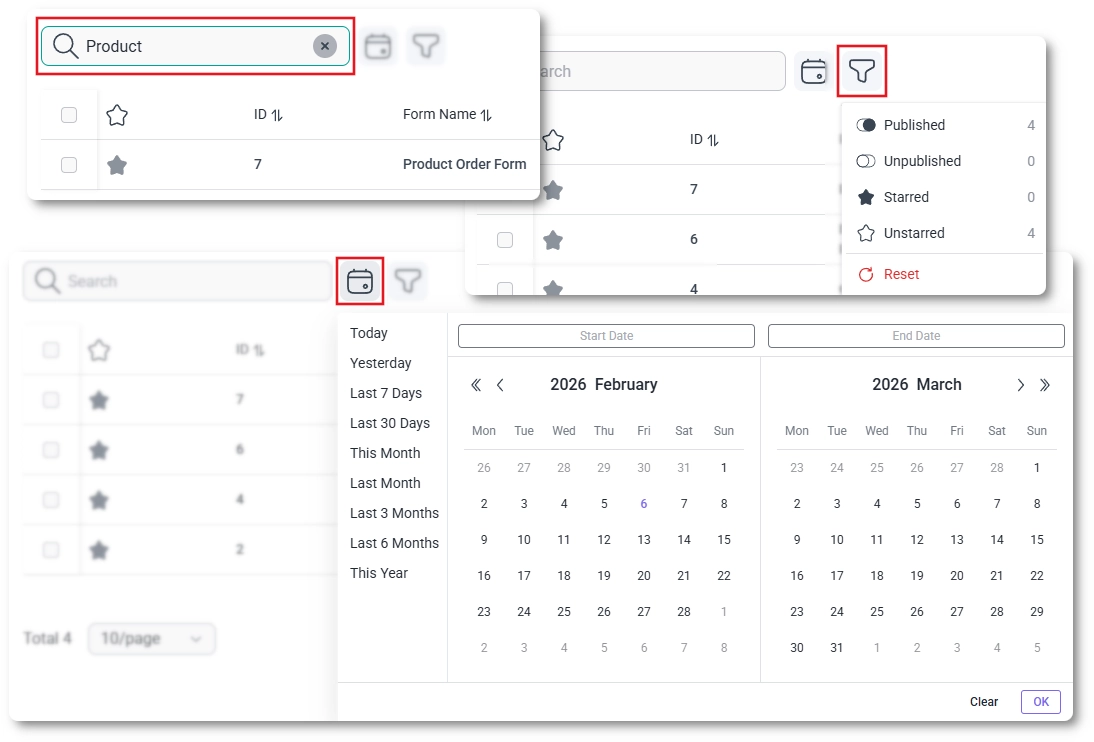
Sorting, filtering, and pagination states are saved in the URL. This means that when you interact with forms (for example, edit a form, view its entries, or open its settings) and then return using your browser’s Back button, the table will remain exactly as you left it, with the same filters, sorting, and page selected.
Clicking the number in the Entries column, or the three-dots menu → Entries opens a dedicated page showing all submissions for that form.
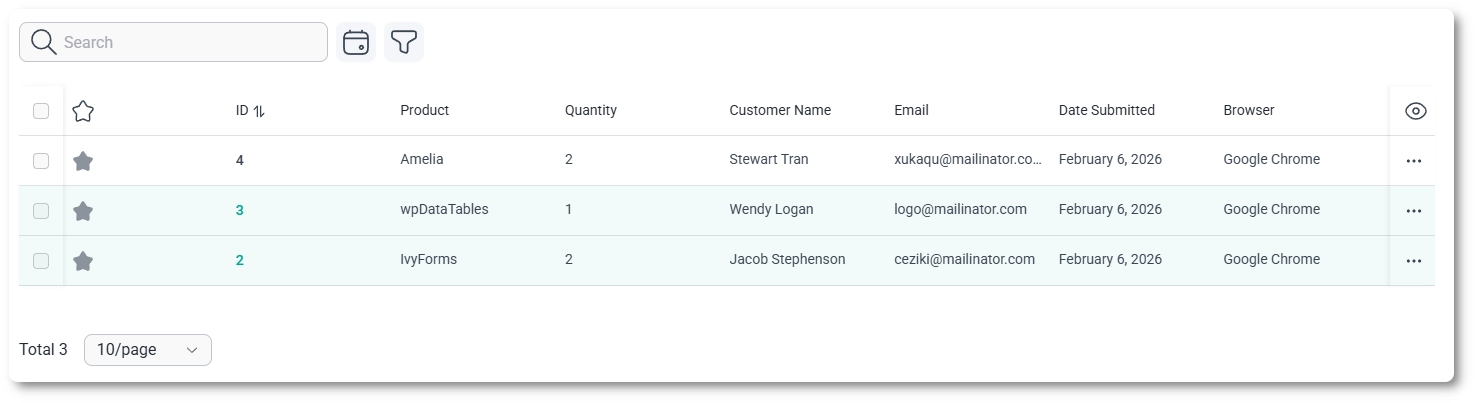
The entries list shows all submissions for a selected form, allowing you to review and manage user responses directly from the dashboard.
Each entry represents a single submission and can be viewed, filtered, or opened for more detailed inspection.
While working with entries, you can:
For a detailed explanation of how entries are accessed and how the table works, see: