
Table of contents
The Confirmations section in IvyForms controls what happens after someone submits a form. You can show a success message, redirect to a page on your website, or send people to a custom URL. With IvyForms Pro, you can add several confirmations to one form and use Smart logic to pick one based on the submitted answers.
A registration form might show a thank-you message by default and redirect customers who chose a premium membership to a separate welcome page.
Confirmation settings are applied per form, allowing each form to have its own post-submission behavior.
You configure confirmations by opening your form, going to the Settings tab, and selecting Confirmations in the left panel. The list shows every confirmation for the form with its Active toggle, Name, Type and the Default label. Each new form comes with one default confirmation that shows a success message. You can use the search bar to find a confirmation by name and sort the list by Name or Type.
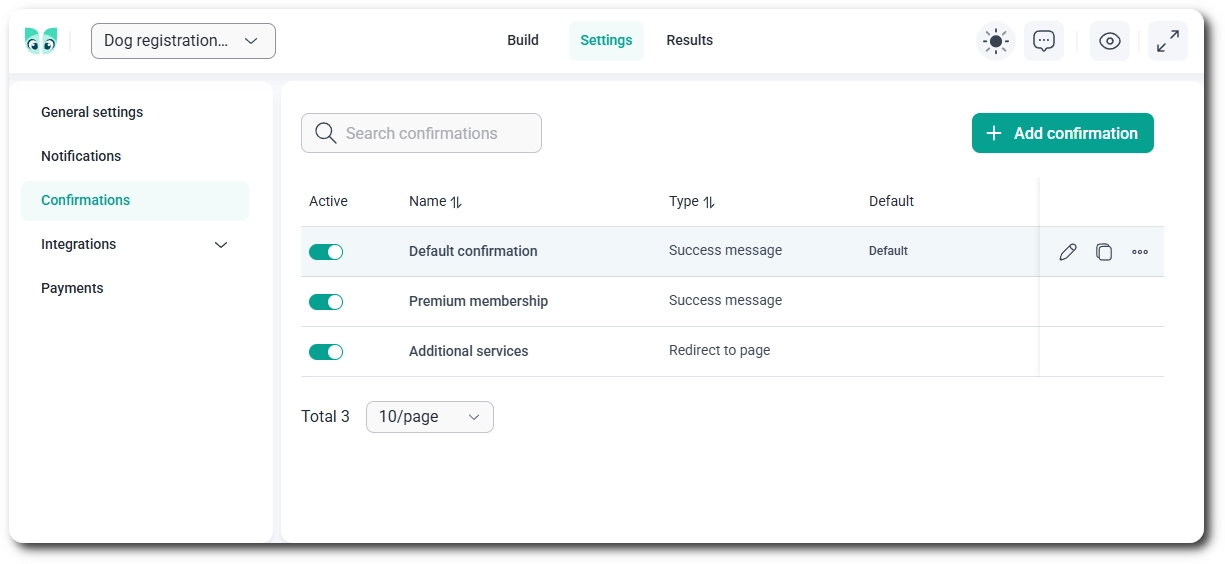
Yes, you can add as many confirmations as you need with an IvyForms Pro Essentials license or higher. Click Add confirmation, enter a Confirmation name, set it up and click Save. Hover over a row to Edit or Duplicate it, or open the three-dot menu to Move up, Move down or Delete it. Use the Active toggle to turn a confirmation on or off without deleting it.
A form always needs at least one confirmation, so the last one can’t be deleted. Duplicated confirmations are created as inactive, so turn them on once you’ve made your changes.
If your IvyForms Pro license expires, your extra confirmations stay saved and keep running on your live form. You can only edit the primary active confirmation until you reactivate your license.
Each confirmation uses one of three types, chosen with the tabs at the top of the editor:
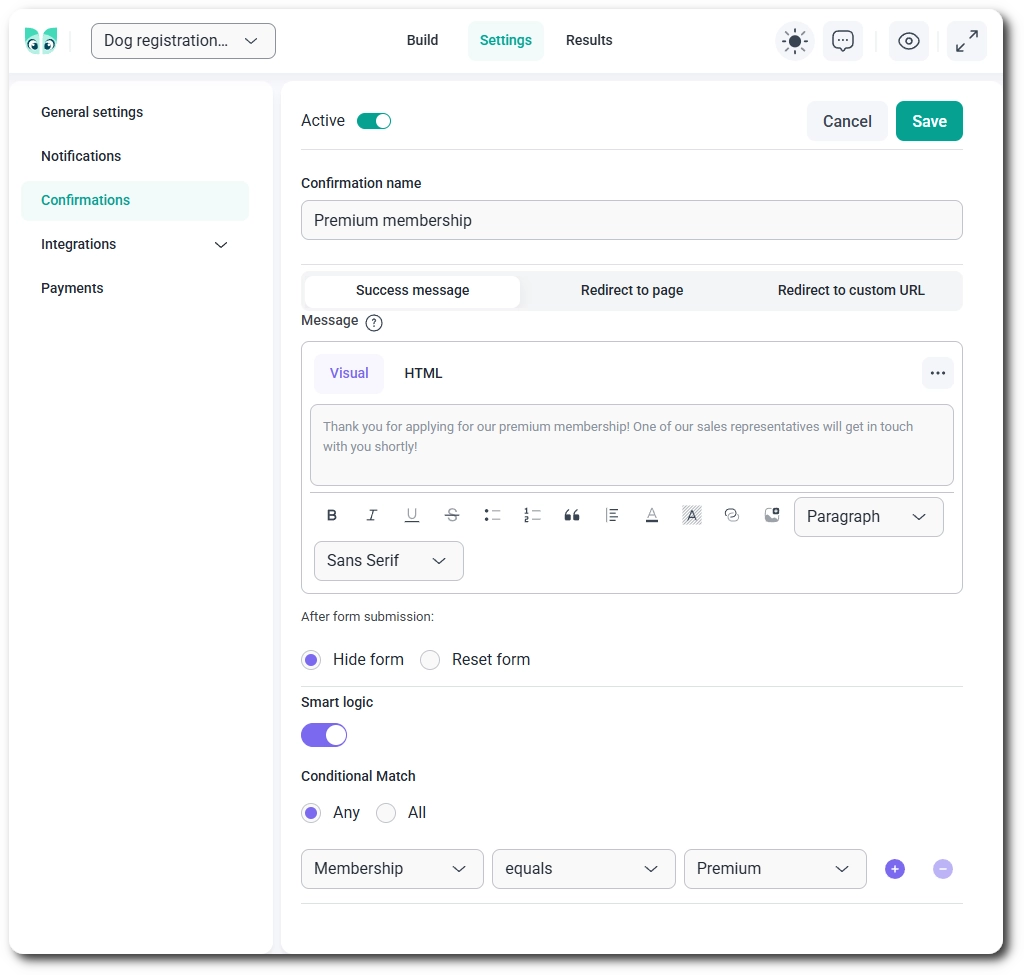
The Success message type shows a message on the page right after the form is submitted. Write the message in the Message editor, and switch between Visual and HTML modes to adjust its formatting and content. This works well when you want to keep people on the same page and simply confirm that their submission went through.
The After form submission setting decides what happens to the form when a success message is shown. It’s only available for the Success message type, because the redirect types take people to another location.
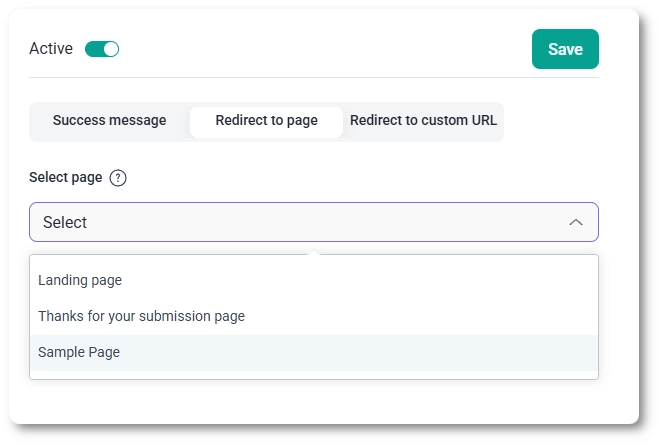
The Redirect to page type sends people to another page on your website after they submit the form. Choose the destination from the dropdown of existing pages. The page must already exist in WordPress, so create it first (for example, a thank-you page) if you haven’t already.
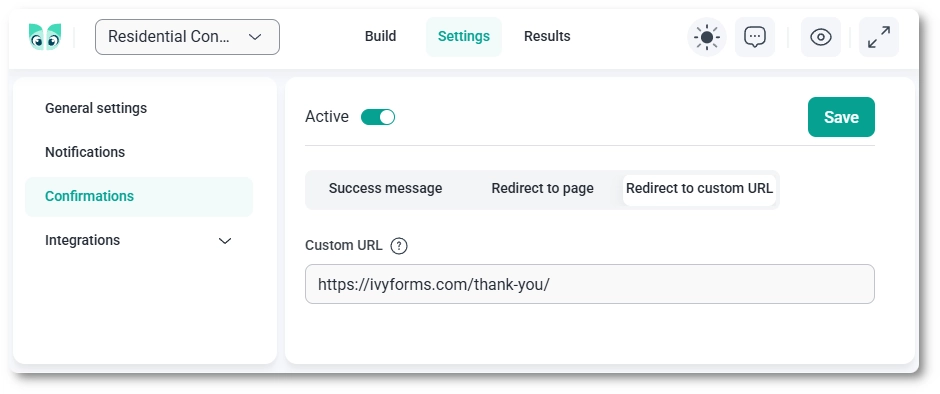
The Redirect to custom URL type sends people to any URL you enter after they submit the form. The URL can point to a page on your website or an external site. This is useful for sending people to external services, landing pages or custom workflows outside your website.
You show different confirmations by turning on Smart logic in a confirmation and adding conditions based on the submitted form values.
Smart logic works with all three confirmation types and needs an IvyForms Pro Essentials license or higher. When the conditions match, IvyForms shows that confirmation instead of the default one. For more on how conditions work across IvyForms, see the Smart logic documentation.
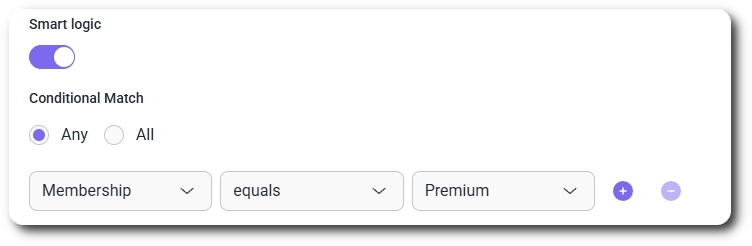
You set up conditions by turning on the Smart logic toggle at the bottom of the confirmation editor and building one or more rules. Each rule has three parts:
Click the + icon to add another rule or the − icon to remove one. Under Conditional Match, choose Any to use the confirmation when at least one rule matches, or All to use it only when every rule matches.
For checkbox fields, equals only matches when the person selects exactly that one option. If they select several options, the rule won’t match.
IvyForms shows the first active confirmation in the list whose smart logic conditions match. It checks confirmations with smart logic from top to bottom, so use Move up and Move down to put the most specific confirmations first. If no conditions match, the confirmation labeled Default is shown, even when it’s lower in the list. Inactive confirmations are always skipped.
A few habits keep your confirmations predictable: