


Table of contents
When a customer submits your T-shirt order form, you might want your team to hear about it right away, without anyone opening the WordPress dashboard. You integrate IvyForms with Zapier by enabling the integration, generating an API key, and connecting it to a Zap that starts every time someone submits your form. From there, Zapier can send the entry to any of its 5,000+ apps, such as Slack, Google Sheets, or your CRM. This article covers enabling the integration, creating the API key, connecting a form, and building a Zap with a Slack message as an example.
The Zapier integration is available only in the Pro version of IvyForms (Growth license or higher), not in Lite.
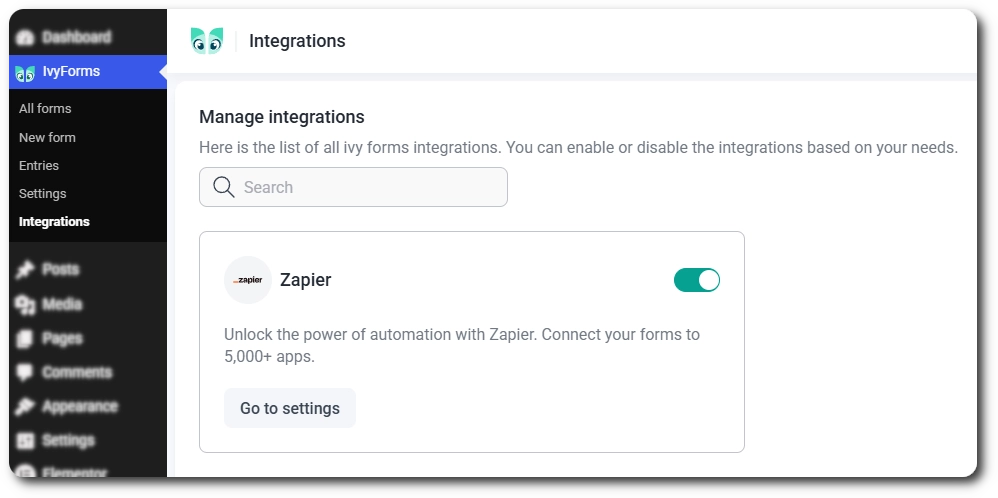
You enable the Zapier integration from IvyForms → Integrations in your WordPress dashboard. Find Zapier in the list (you can use the search field to find it faster) and turn it on with the toggle next to its name.
Once it’s enabled, click Go to settings to open the Zapier configuration screen. You can also reach it manually by going to IvyForms → Settings → Integrations → Zapier.
You generate the API key in IvyForms → Settings → Integrations → Zapier by clicking Generate API Key. Zapier uses this key, together with your Website URL, to connect to your site. The Website URL is filled in automatically, and both fields have a Copy button next to them.
Copy the API key as soon as you generate it. IvyForms shows the full key only once; after you refresh or revisit the page, only the beginning of the key is displayed, and the Generate API Key button changes to Regenerate.
Below the Website URL, you’ll see a line that says Continue setup and manage this integration in Zapier, with a Continue setup button that takes you straight to Zapier. At the bottom of the page, the Connected forms list shows every form that has Zapier turned on.
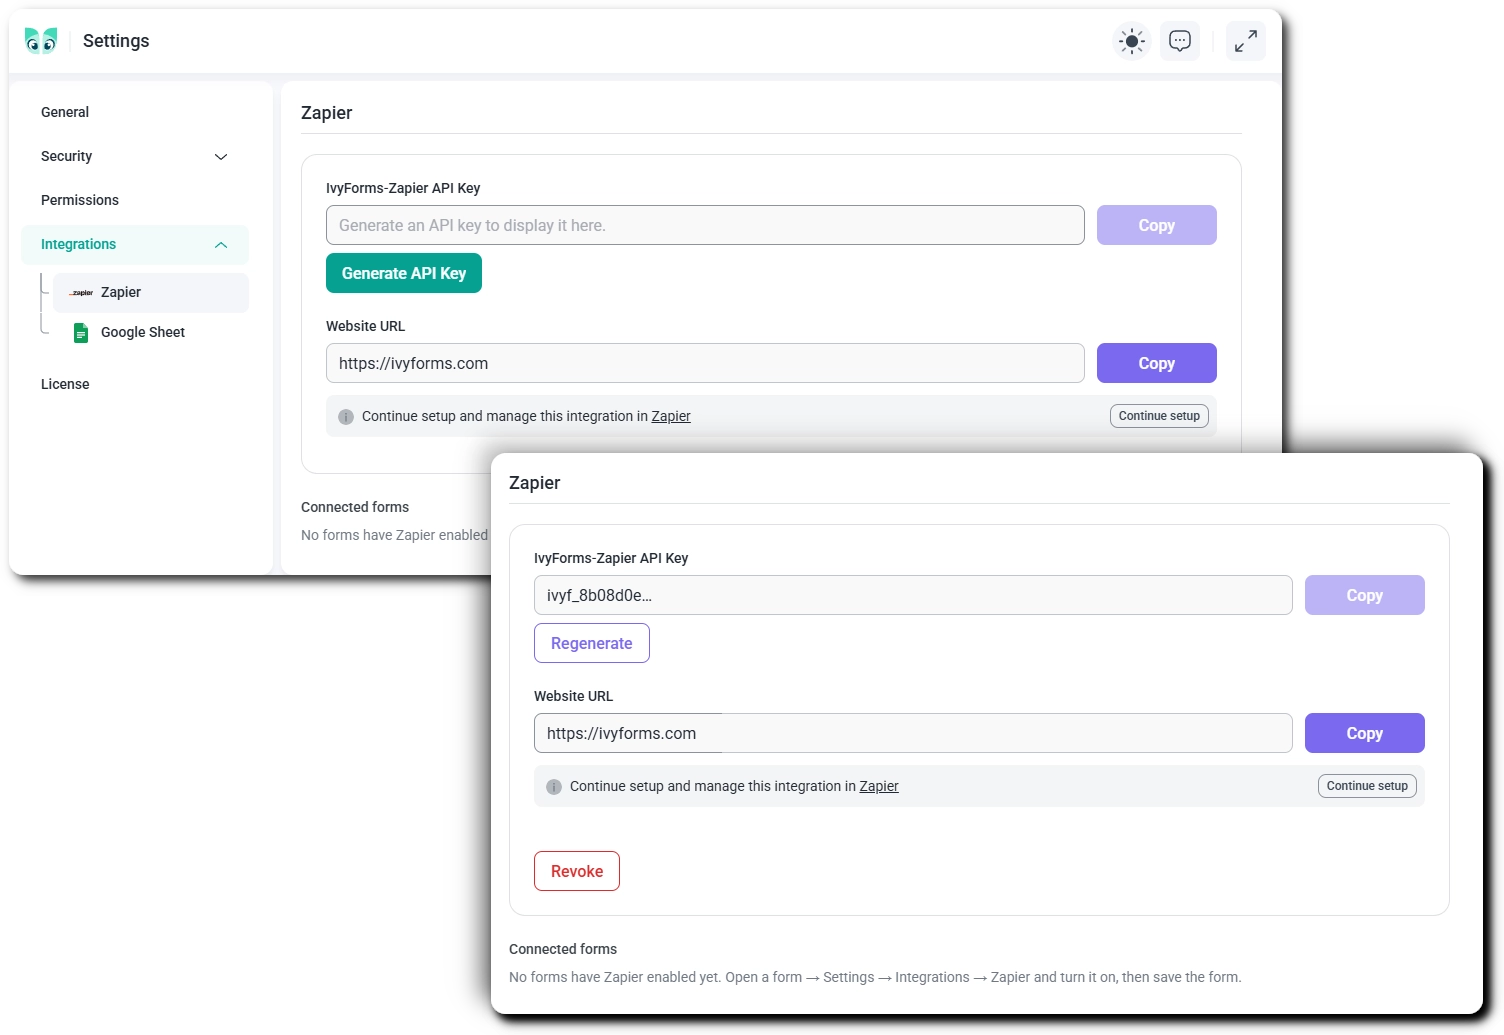
If you lose or forget the API key, click Regenerate to create a new one, since the full key can’t be displayed again. After regenerating, existing Zaps stop working until you reconnect them in Zapier with the new key.
Revoke goes further: it deletes the key, turns the Zapier integration off, and stops all active Zaps from receiving entries. To start again after revoking, turn the integration back on in IvyForms → Integrations and generate a new key.
You enable Zapier for each form separately, in the form’s settings. Open the form, click Settings at the top, go to Integrations → Zapier, tick Allow Zapier triggers for this form, and click Save. The Open Zapier settings button in this panel takes you back to the API key page.
Do this before you go to Zapier, because a form that isn’t allowed for Zapier can’t be connected to a Zap. Zapier also lists only forms that have at least one entry, so submit the form once from the front end (or use the Preview eye button in the form builder) to create a test entry.
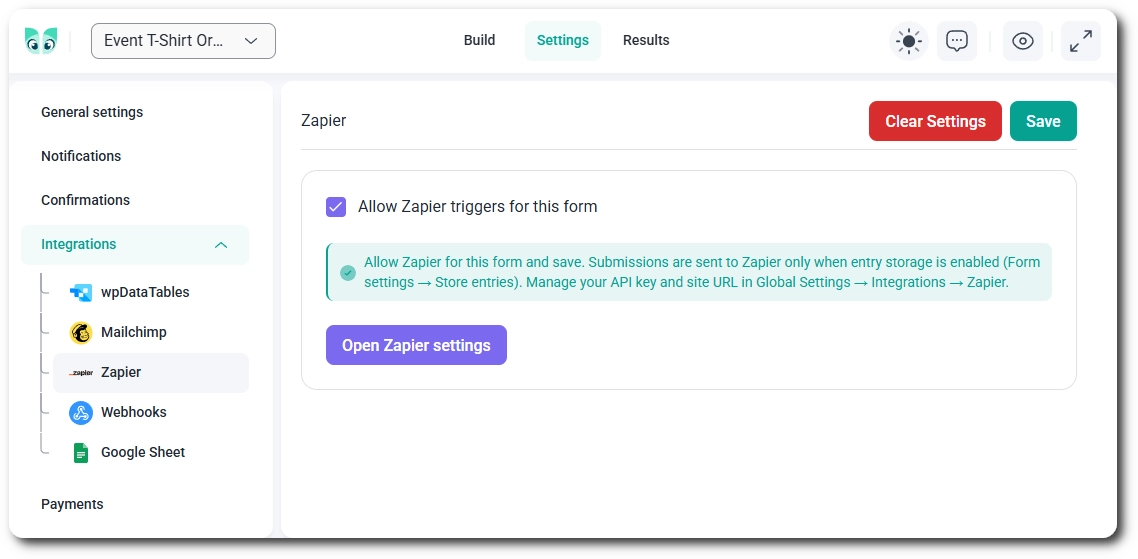
IvyForms sends data to Zapier only for entries that are saved in your site, so keep Store entries in database turned on in the form’s General settings (it’s on by default).
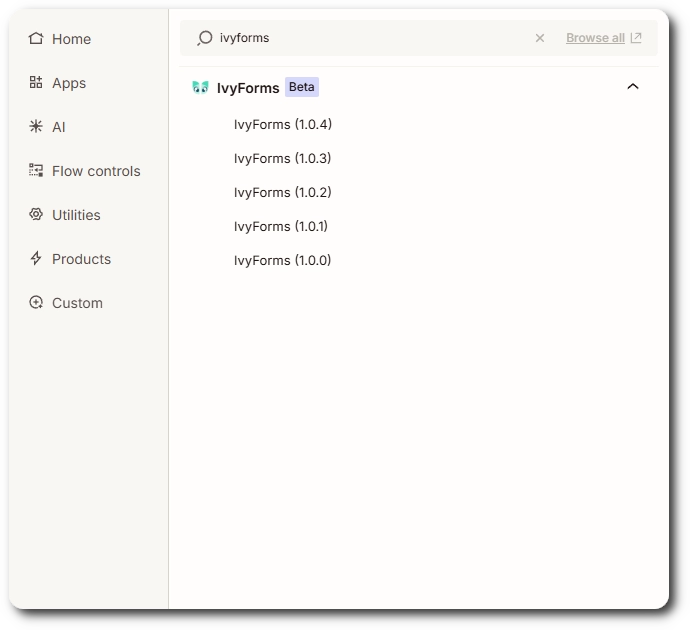
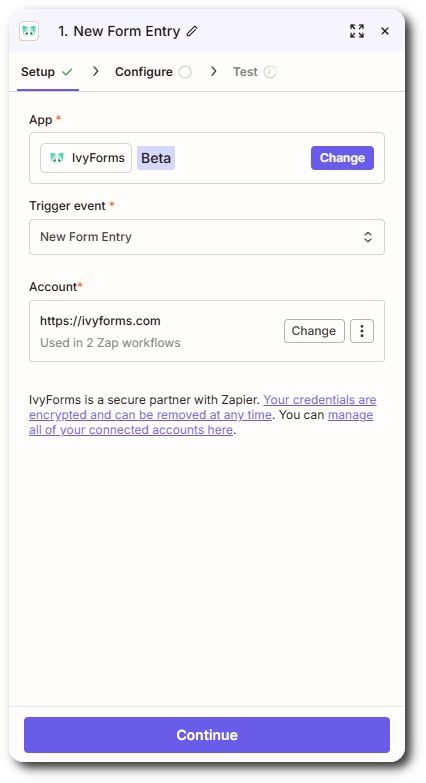
You create the Zap in Zapier by clicking Create → Zap, selecting the trigger, and searching for IvyForms. Choose the latest version of the IvyForms app, then select New Form Entry as the trigger event.
Next, under Account, click Sign in to connect your website. Zapier asks for the API key you copied earlier and the Website URL from IvyForms → Settings → Integrations → Zapier. Once the account is connected, click Continue.
The IvyForms app is currently marked Beta in Zapier, but it works the same way as any other app.
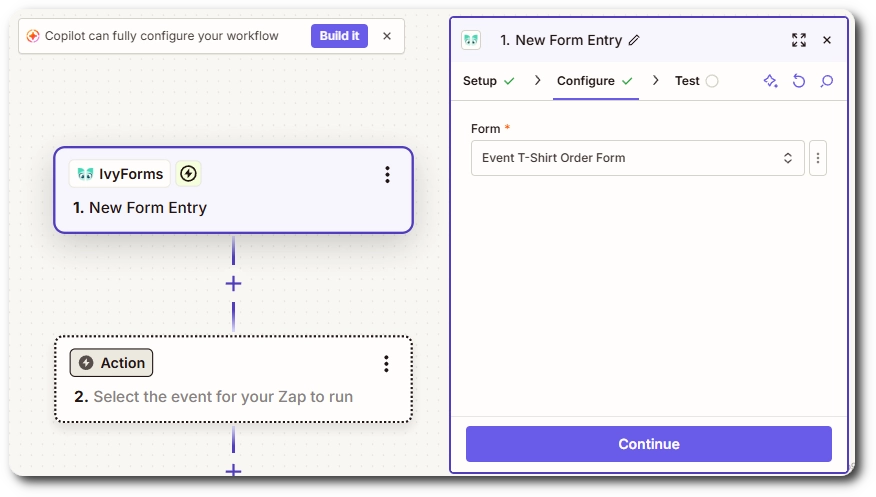
In the Configure step, you select the form from the Form dropdown and click Continue to reach the Test step. The dropdown lists only forms that have Zapier enabled and at least one entry, so if your form is missing, check the form settings and submit a test entry first.
In the Test step, click Test trigger and Zapier loads the most recent entry of that form as a sample record. If Zapier doesn’t find a record, open the form on the front end (or use the Preview button in the form builder), submit it, and click Find new records in Zapier. Select the record and click Continue with selected record.
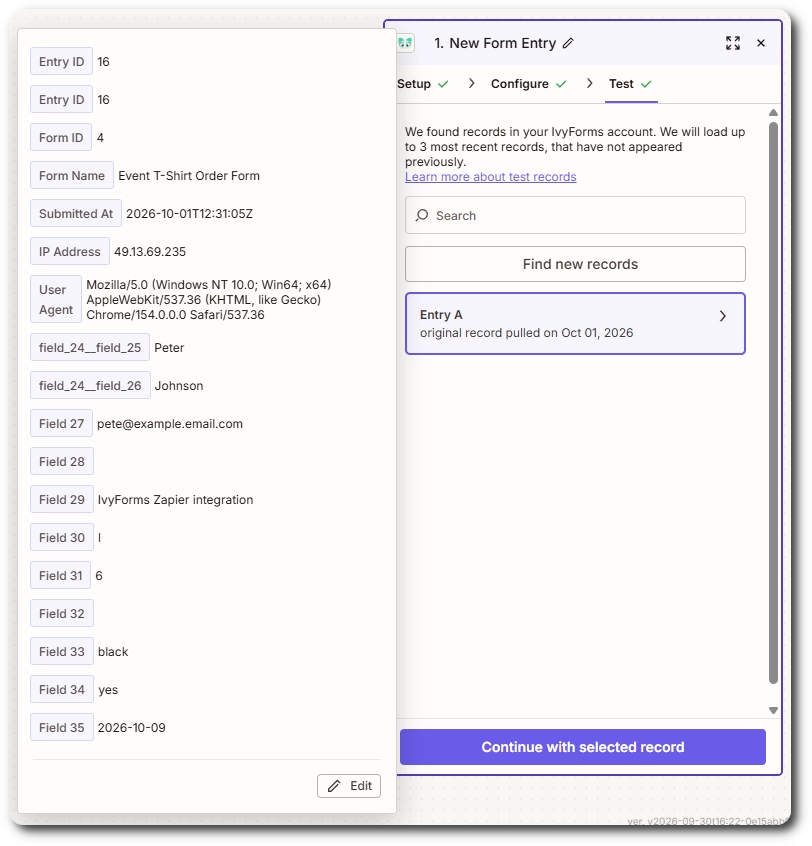
The sample record shows exactly what Zapier receives, which is useful when you decide what to use in the next step. Each entry includes the entry ID, form ID, form name, submission date and time (in UTC), the visitor’s IP address and user agent, and the value of every field in the form. Fields with more than one value, such as checkboxes, are sent as one comma-separated value, and compound fields like Name and Address are split into separate values for each part.
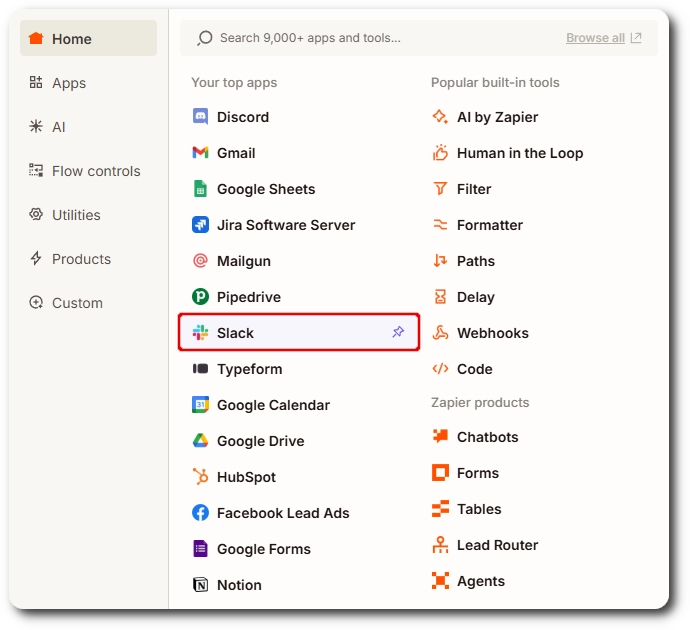
After you continue with the selected record, Zapier asks what you want to do with the data. To send a Slack message, choose Slack as the app, select Send Direct Message as the action event, and click Sign in to connect your Slack account. Slack shows a permissions screen; review it and click Allow.
In the Configure step, select the user who should get the message in To Username and write the Message text, for example “We received a new T-shirt order!”. You can also add values from the IvyForms record to the message using the + button.
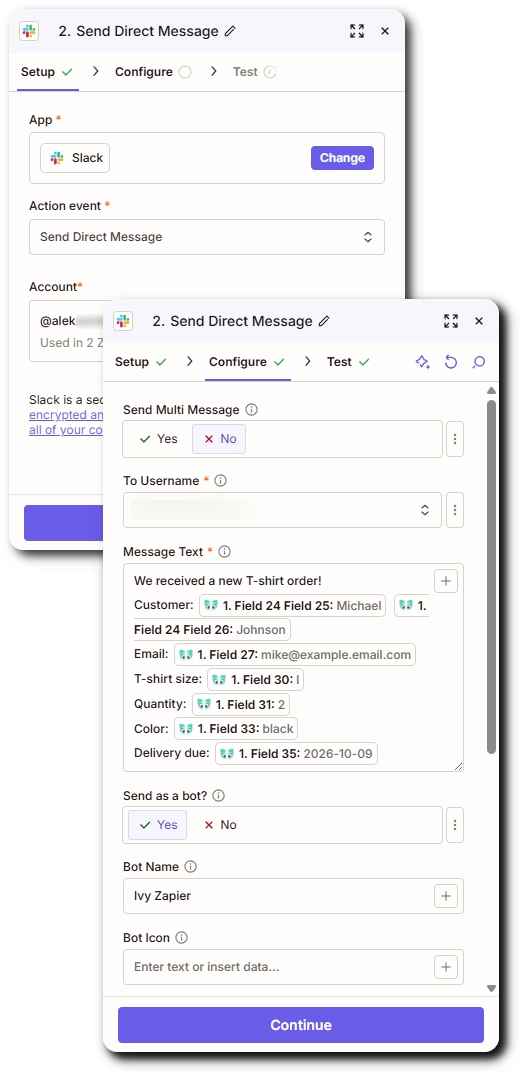
Set the remaining options, such as the bot name, to your liking, then click Continue and Test step.
If the message arrives in Slack, the connection works. Click Publish to turn the Zap on, and every new entry in your form will trigger the message.
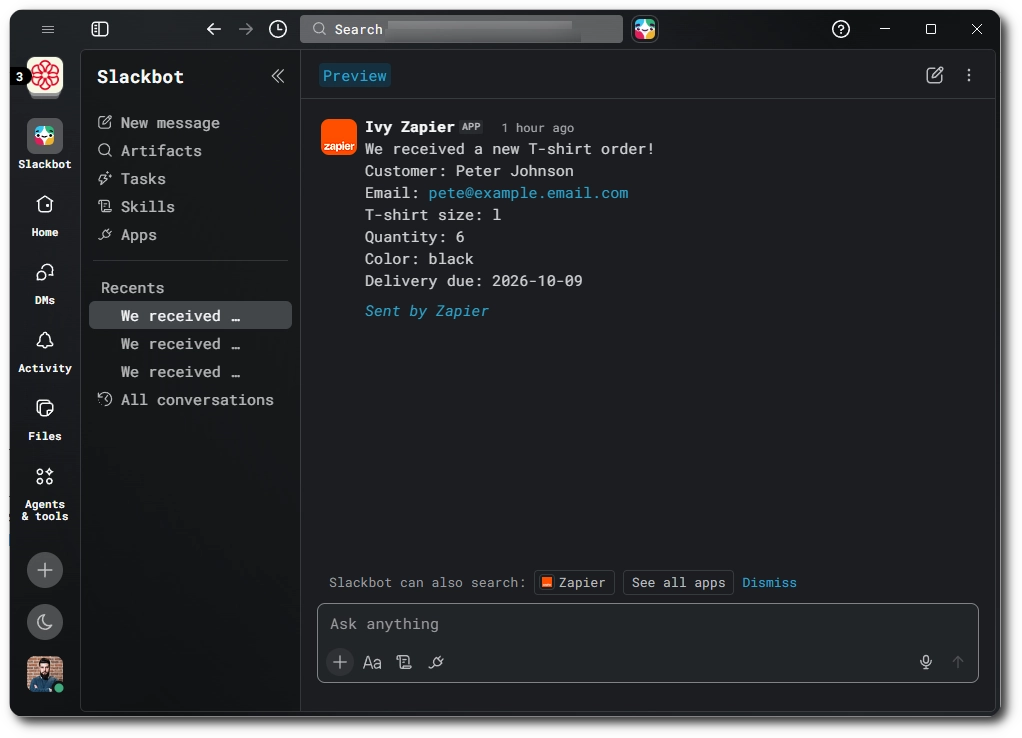
Slack is only one example. Zapier can send IvyForms entries to thousands of other apps, so use this setup as a starting point and pick the action that fits your workflow.
If entries don’t show up in Zapier, one of the settings on the IvyForms side is usually the cause. Check these:
To send entries to any other endpoint instead, see the webhooks integration documentation.