Table of Contents
Notifications in IvyForms allow you to automatically send emails after a form is submitted. These emails can be sent to administrators, users, or any custom recipients, and can be fully customized using static values or dynamic placeholders.
Notifications are configured per form, meaning each form can have its own email setup and behavior.
To configure notifications, open your form and navigate to the Settings tab, then select Notifications from the left-side panel.
By default, IvyForms includes an Admin Notification Email that is enabled and used to notify the website owner when a new submission is received.

You can create additional notifications by clicking the + Notifications button. This allows you to define different email scenarios, such as sending confirmation emails to users or notifying multiple recipients.
Each notification in the list includes the following actions:
You can also enable or disable each notification using the toggle in the Active column.
When editing a notification, you can configure how the email is sent and what it contains. Each notification includes fields such as sender, recipient, subject, and message content.

IvyForms allows you to use dynamic placeholders in notification fields to automatically insert values from form submissions or system data.
When clicking the three-dot menu next to fields like Send from, Reply to, Send to, or Subject, a placeholder selector will appear with two tabs:
For example, if your form contains an email field, selecting it as a placeholder allows IvyForms to automatically use the submitted email address for sending or replying to messages.

Yes, all email fields such as Send from, Reply to, and Send to can also be filled manually.
This means you can use fixed email addresses like [email protected], or combine static values with dynamic placeholders depending on your needs.
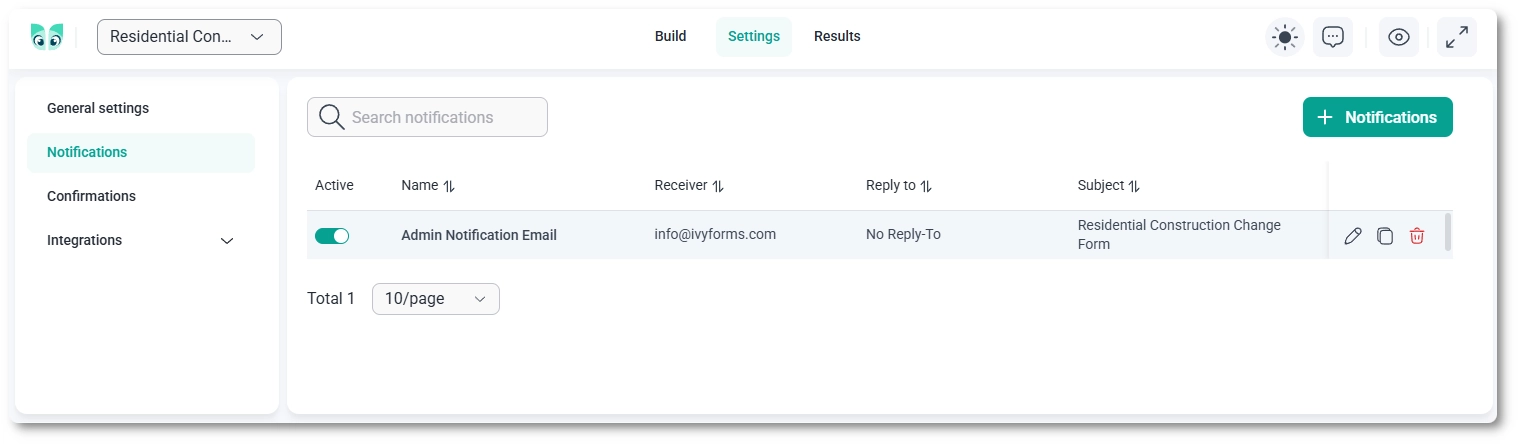
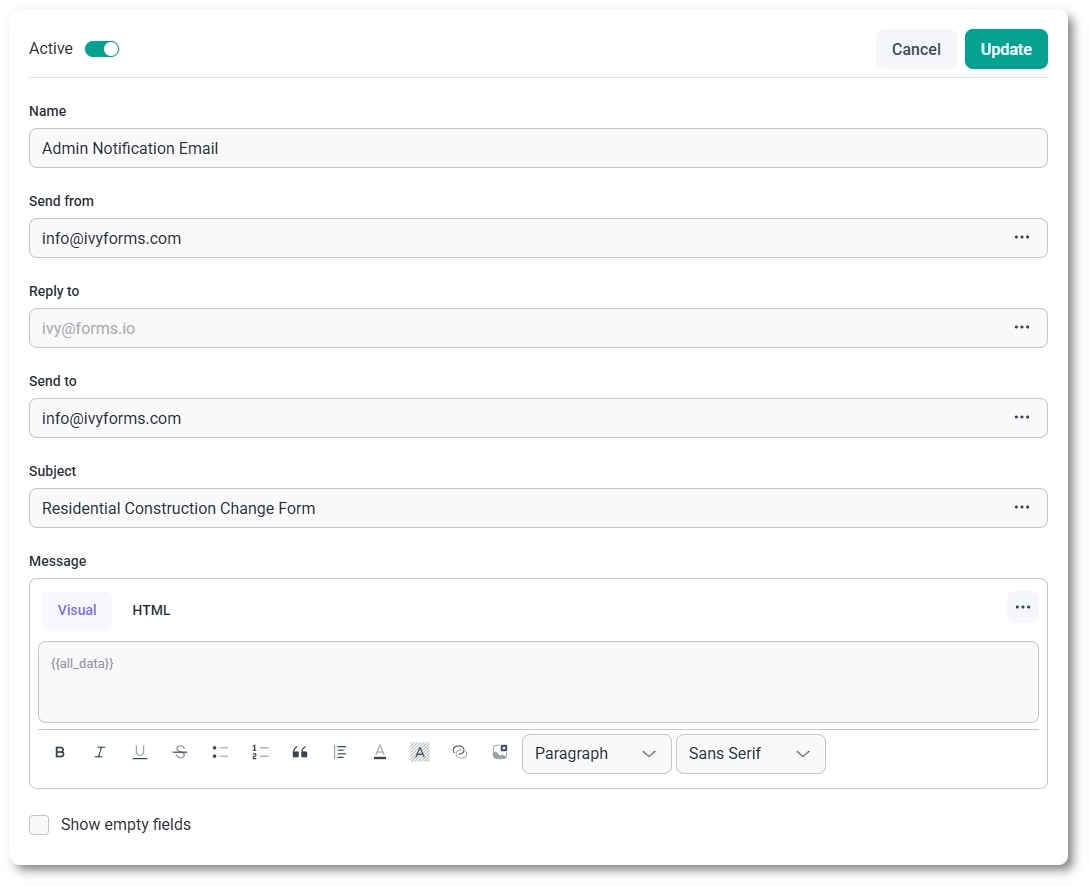
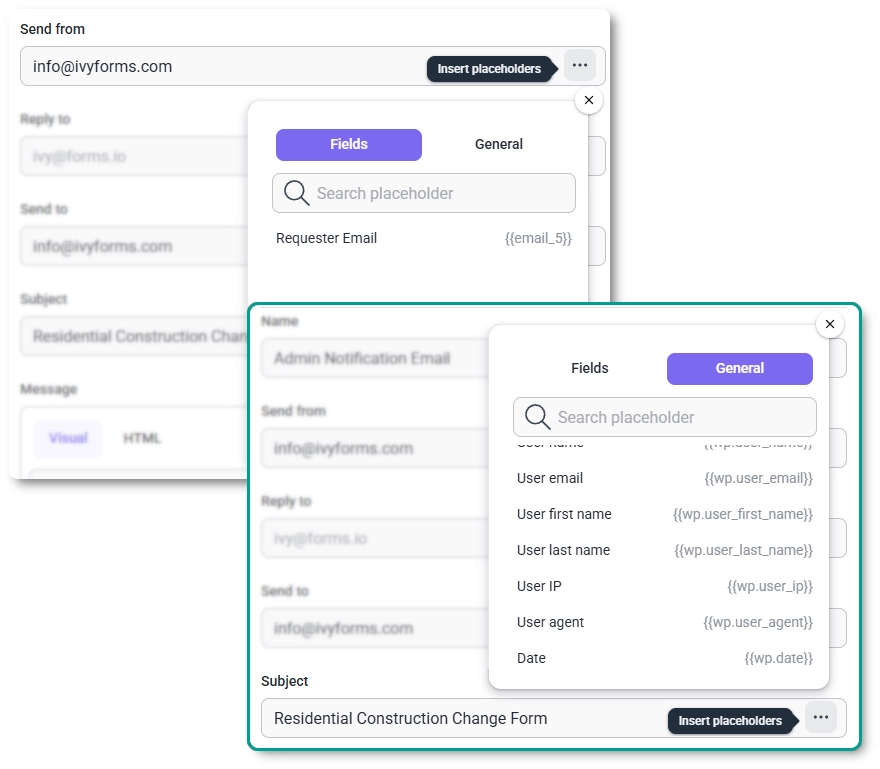
The Subject field is automatically populated with the form name by default, but it can be customized. You can also use placeholders to dynamically include values from the form or system data.
The Message field defines the content of the email. By default, it includes the {{all_data}} placeholder, which outputs all submitted form data.
You can fully customize the message using the visual editor or switch to HTML mode for advanced formatting. This allows you to structure the email exactly how you want, including specific fields, labels, and formatting.
The Show empty fields option controls whether fields without values are included in the email. When enabled, all form fields will appear in the message, even if they were left empty. When disabled, only fields with submitted values will be included.
Using multiple notifications allows you to create different email flows for different scenarios. For example, you can:
Each notification can have its own recipients, content, and logic, giving you full control over how form submissions are handled.