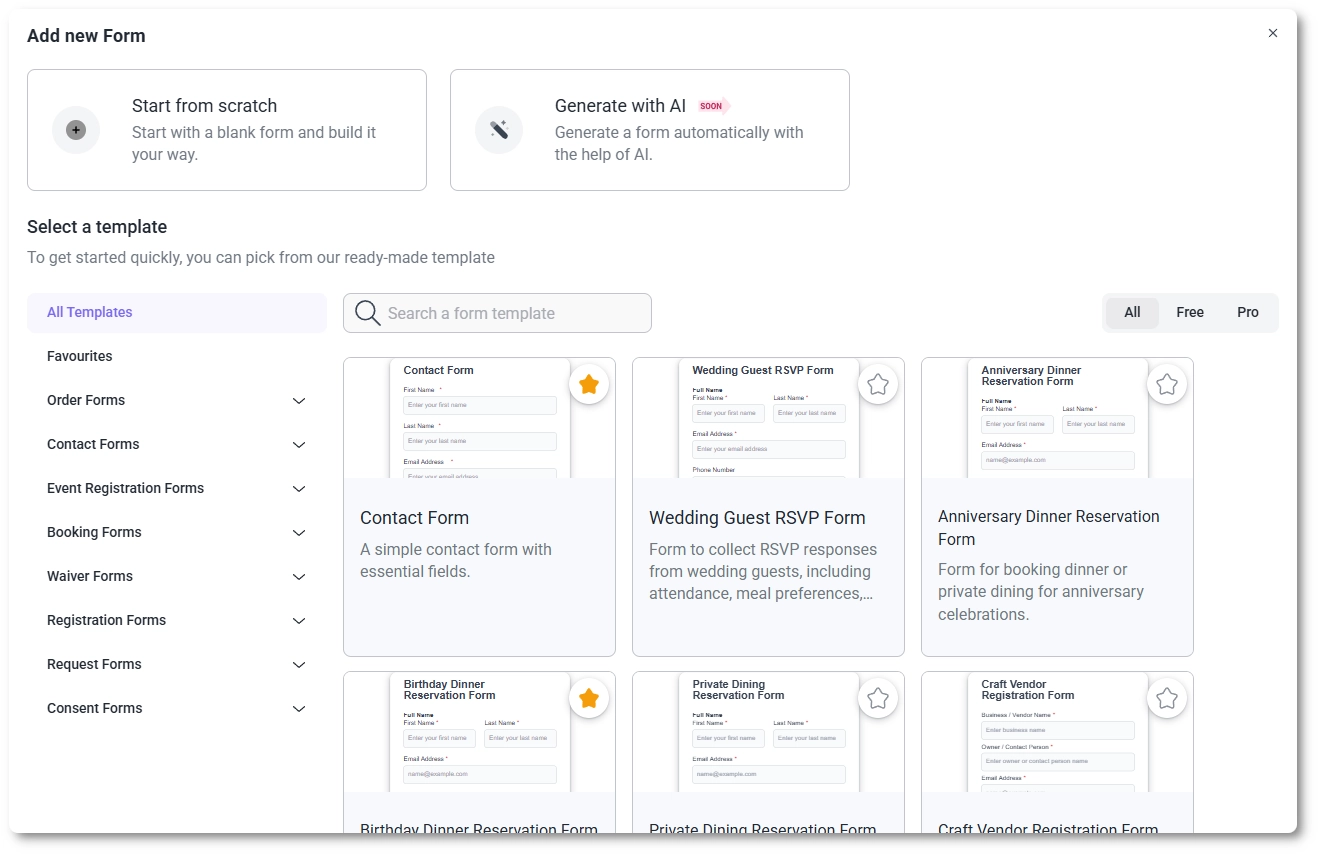
On the left panel, the General category expands automatically, showing all available field types: Text, Email, Number, Paragraph, Phone, Website/URL, Name, Address, Radio Button, Checkbox, Dropdown, Rating, and HTML. You may also notice options marked as Soon, which will be available in future updates.
To build your form, drag a field from the left panel into the form area, or click a field once to automatically add it below the last one. When a new field is added, the form scrolls down to keep it in view.
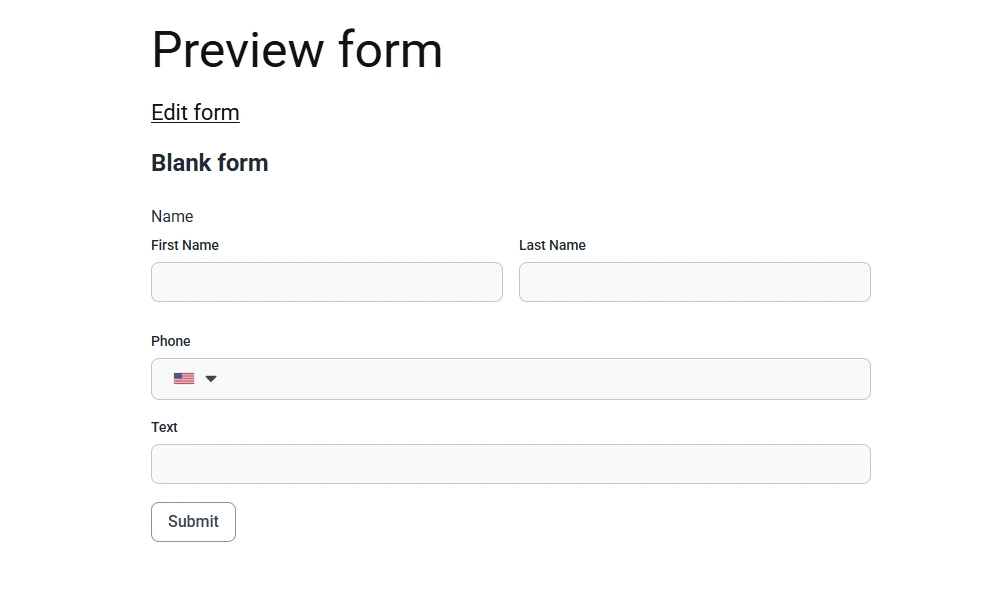
Fields in IvyForms are not limited to a single vertical layout. You can resize fields to adjust their width and place multiple fields side by side within the same row, making it easy to create multi-column layouts. Up to five fields can be placed in a single row. When all five positions are filled, fields are evenly sized; with fewer fields, their widths can be adjusted manually.