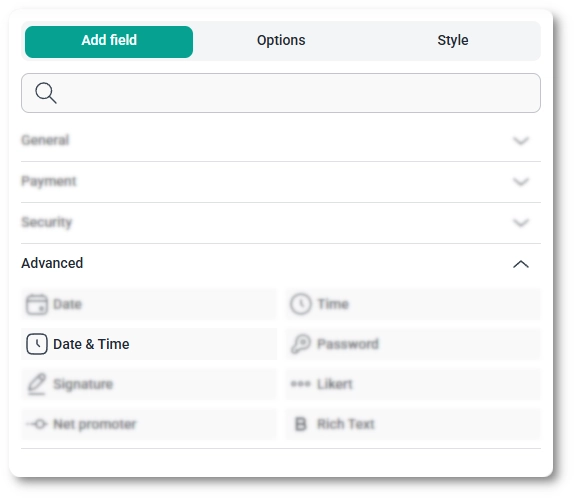
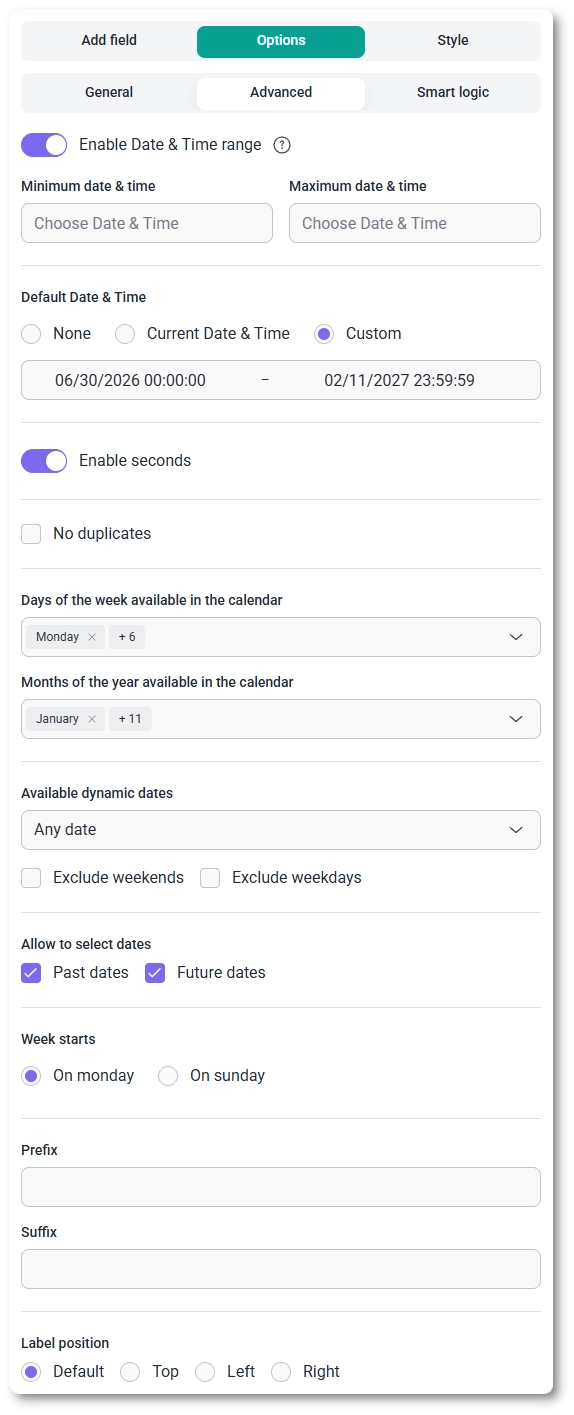
After selecting the Date & Time field in the preview, the side panel switches to the Options view, split across the General, Advanced, and Smart logic tabs. One choice shapes everything else: the Date & Time type you pick on the General tab decides which settings appear on both tabs, so it is worth setting first.
How do general settings work for the date and time field?
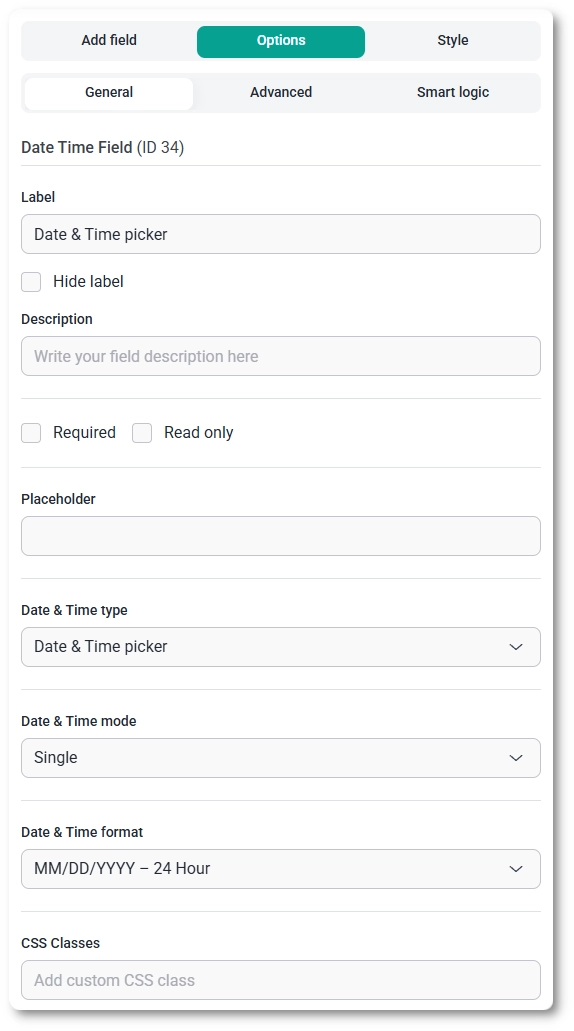
The General tab shows the field type (Date & Time) and its field ID, along with the options that control labeling, presentation, and format.
- Label – the name shown above the field.
- Hide label – removes the label on the front end.
- Description – a short note under the field to guide the visitor.
- Required – makes a selection mandatory before the form can be submitted.
- Required message – the text shown when someone submits without a value; it appears once Required is enabled.
- Read only – shows the field in a non-interactive state, and it is unavailable while Required is on.
- Placeholder – example text shown before a value is chosen; available for the picker and input types.
- Date & Time type – sets how the field is presented (picker, dropdown, or input); see the next section.
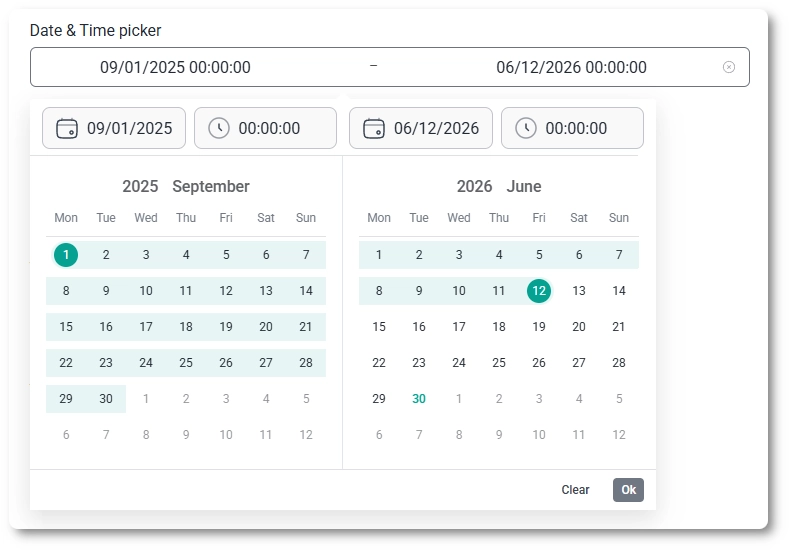
- Date & Time mode – choose Single for one value or Range for a start and end; available for the picker and input types.
- Date & Time format – sets how the value is laid out and clocked; see below.
- CSS classes – custom class names for styling the field.
The Date & Time format dropdown offers four date layouts, MM/DD/YYYY, DD/MM/YYYY, YYYY-MM-DD, and DD.MM.YYYY, each available in either 24-hour or AM/PM time, for eight combinations in total. Pick the one that matches your audience’s region.