


Spam bots submitted over 99 billion junk form entries across the web in 2024. Your site caught some of that traffic, guaranteed. The best tactics for form spam prevention combine…
Table of Contents
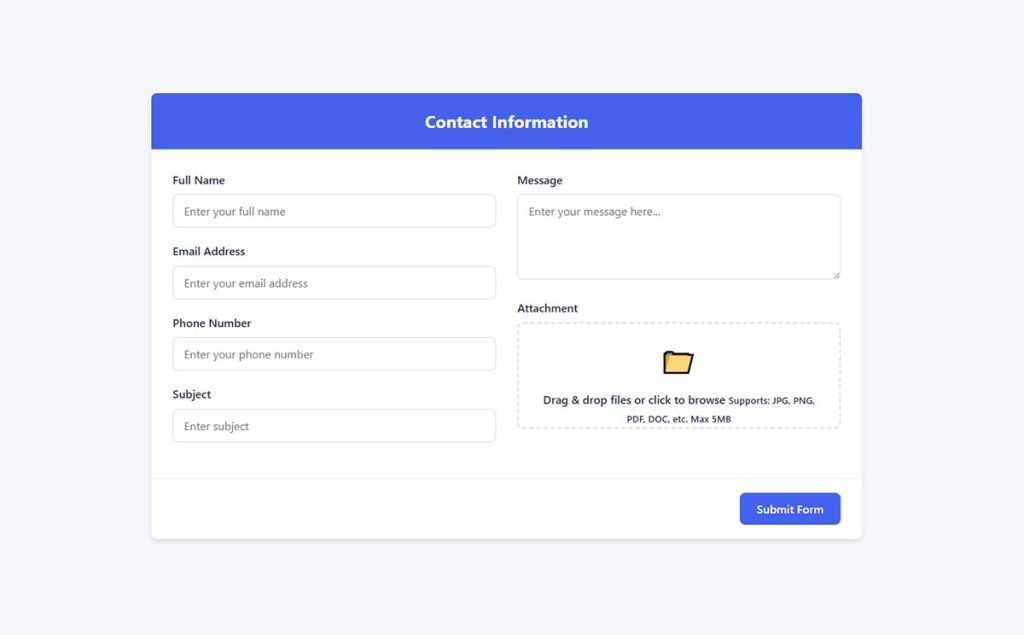
Your users need to submit documents, but your contact form can’t handle attachments.
Learning how to create a WordPress form with file upload solves this instantly. Whether you need job applications with resumes, support tickets with screenshots, or client intake forms with signed contracts, file upload functionality transforms basic forms into powerful data collection tools.
This guide covers plugin selection, security settings, storage configuration, and troubleshooting. You’ll set up secure file uploads that handle PDFs, images, and documents while protecting your site from malicious files and oversized uploads.
Methods for Adding File Upload to WordPress Forms
Contact Form 7 File Upload Setup
Contact Form 7 handles file uploads through its built-in file field tag.
Add [file your-file limit:2mb filetypes:pdf|doc|docx] to your form code, adjust the size limit and allowed extensions based on your needs.
The plugin stores uploaded files temporarily, then attaches them to email notifications or discards them after sending.
WPForms File Upload Field
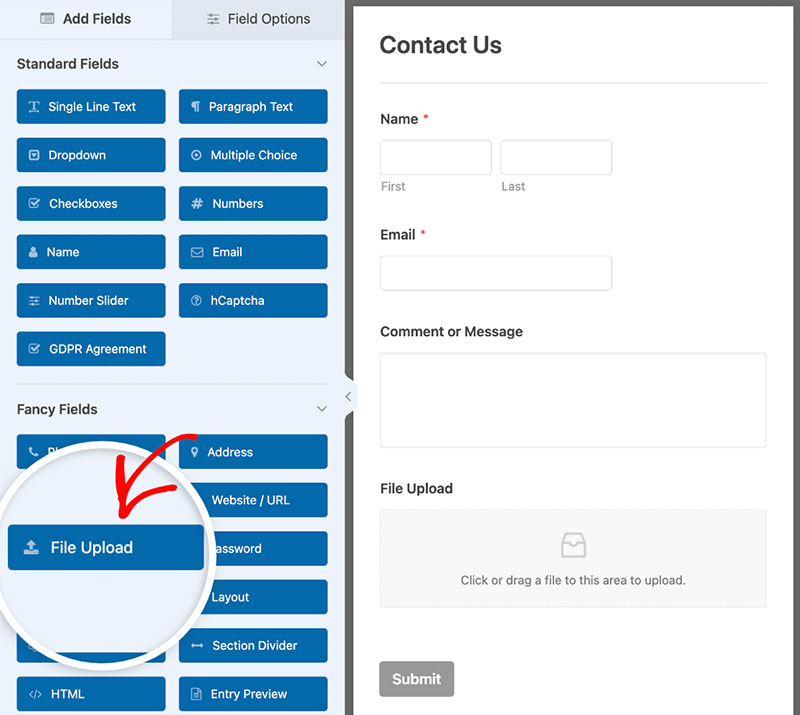
WPForms includes a drag-and-drop file upload field in its form builder.
Click the file upload icon, drag it into your form, then configure allowed file types (jpg, png, pdf, doc), maximum file size, and whether users can upload multiple files simultaneously.
Files get stored in your WordPress media library by default.
Gravity Forms File Upload Configuration
Gravity Forms offers advanced file validation rules and conditional upload logic.
Set different file restrictions based on user responses, limit total upload size across multiple files, or require certain file types for specific form scenarios.
Multi-file uploads work through a single field with quantity limits you define.
Formidable Forms File Upload Options
Formidable Forms lets you customize the upload directory path and file naming conventions.
Pro version adds Amazon S3 integration, custom file URLs, and the ability to display uploaded files in views or on user profiles.
Configure whether files appear in your media library or store in custom folders outside wp-content/uploads.
File Upload Security Settings
Restricting File Types
Limit uploads to specific extensions using a whitelist approach.
Block executable files (.exe, .sh, .bat), scripts (.php, .js), and other potentially dangerous formats even if users rename them.
Most WordPress contact form plugins include MIME type verification that checks actual file content, not just the extension.
Setting File Size Limits
PHP configuration controls maximum upload sizes through three directives: upload_max_filesize, post_max_size, and memory_limit.
Post_max_size must exceed upload_max_filesize since it includes all form data.
Edit php.ini directly, modify through cPanel, or add directives to .htaccess depending on your hosting setup and server type (Apache vs Nginx).
Implementing File Scanning
Install security plugins like Wordfence or Sucuri that scan uploaded files for malware signatures.
Real-time scanning checks files immediately upon upload, quarantines suspicious content, and blocks infected files before they reach your server.
Schedule regular scans of your entire uploads directory to catch anything that slipped through.
File Storage Configuration
Default WordPress Upload Directory
WordPress stores uploads in wp-content/uploads organized by year and month subdirectories.
Directory permissions should be 755 for folders and 644 for files to prevent unauthorized modifications while allowing web server read access.
Never set permissions to 777, which creates massive security vulnerabilities.
Custom Upload Directory Setup
Use the upload_dir filter to redirect form uploads to a custom location outside the standard WordPress structure.
add_filter('upload_dir', 'custom_upload_directory');
function custom_upload_directory($upload) {
    $upload['subdir'] = '/custom-forms';
    $upload['path'] = $upload['basedir'] . $upload['subdir'];
    $upload['url'] = $upload['baseurl'] . $upload['subdir'];
    return $upload;
}
Custom paths keep form submissions separate from media library content.
Cloud Storage Integration
Connect Amazon S3, Google Cloud Storage, or Dropbox to offload files from your web server.
WP Offload Media automatically transfers uploads to your cloud bucket, serves files from the CDN, and optionally removes local copies to save server space.
Configure bucket permissions, set up IAM credentials, and define which file types sync to cloud storage.
Form Notification Setup for File Uploads
Email Attachment Configuration

SMTP settings determine how uploaded files attach to notification emails.
Most email servers limit attachments to 25MB total per message; larger files require download links instead of direct attachments.
Configure your form plugin to either attach files directly or include secure download URLs that expire after a set time period.
Admin Notification Settings
Send upload notifications to multiple email addresses based on file type, submission content, or user selection.
Set conditional notification rules that route resume uploads to HR, support tickets to your help desk, and sales inquiries to your business development team.
Include submission metadata (upload time, file size, user IP) in notification emails for better tracking and security auditing.
File Upload Field Customization
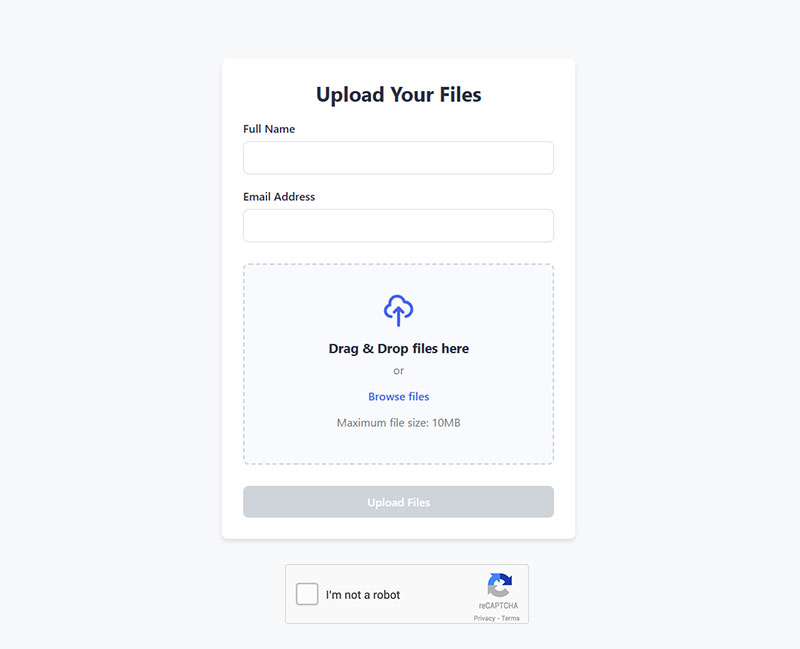
Frontend Upload Interface Design

Style your upload button using CSS classes to match your site’s design system.
Add custom CSS targeting .wpforms-field-file-upload or your plugin’s specific class, modify button colors, borders, padding, and hover states.
Progress bars show upload status for larger files and improve user experience during slow connections.
Multiple File Upload Setup
Enable multi-file selection by setting the maximum file count in your form builder settings.
Users can select multiple files simultaneously using Ctrl+Click (Windows) or Cmd+Click (Mac), or drag multiple files into a drop zone at once.
Set reasonable limits (3-5 files) to prevent abuse and server overload.
Required vs Optional File Fields
Mark upload fields as required when documents are necessary for processing (job applications, support tickets with screenshots).
Optional fields work better for supplementary materials like portfolios or additional references where submissions remain valid without attachments.
Display clear error messages when required files are missing.
Troubleshooting File Upload Problems
Upload Size Exceeded Error
Increase upload_max_filesize and post_max_size in php.ini or .htaccess.
Check your hosting control panel (cPanel, Plesk) for PHP settings options if you can’t access server files directly.
Restart your web server (Apache or Nginx) after configuration changes to apply new limits.
File Type Not Allowed Error
WordPress restricts certain MIME types by default for security.
Add allowed types using the upload_mimes filter:
add_filter('upload_mimes', 'custom_upload_mimes');
function custom_upload_mimes($mimes) {
    $mimes['svg'] = 'image/svg+xml';
    $mimes['webp'] = 'image/webp';
    return $mimes;
}
Never allow executable files (.exe, .php, .sh) even if users request them.
Upload Failed Error
Check directory permissions using FileZilla or your hosting file manager.
Set uploads folder to 755, verify your web server user (www-data, apache, nginx) owns the directory.
Review server error logs at /var/log/apache2/error.log or through cPanel to identify specific failure causes.
File Upload Performance Best Practices
Optimizing Large File Uploads
Implement chunked upload methods that split large files into smaller segments.
Libraries like Plupload or Resumable.js break files into 1-2MB chunks, upload them sequentially, then reassemble on the server.
Set max_execution_time to 300 seconds or higher to prevent timeouts during large transfers.
Database Storage Considerations
Store file metadata (name, size, upload date, user ID) in custom database tables rather than cluttering postmeta.
WordPress attachment post type creates database entries for every upload, which can bloat your database if you receive hundreds of submissions daily.
Regular cleanup routines delete old uploads and their database records after retention periods expire.
Mobile File Upload Configuration
Camera Upload Access
Add the capture attribute to HTML5 file inputs for direct camera access on mobile devices.
<input type="file" accept="image/*" capture="camera"> opens the camera app instead of the file picker.
Users can photograph documents, receipts, or ID cards without saving images to their device first.
Touch-Friendly Upload Interface
Design upload buttons with minimum 44px touch targets following mobile usability standards.
Increase tap area padding, space buttons adequately, and avoid placing upload triggers near screen edges where accidental touches occur.
Test your upload forms on actual mobile devices, not just browser emulators, since touch behavior differs significantly from mouse interactions.
FAQ on How To Create A WordPress Form With File Upload
Which WordPress plugin is best for file uploads?
WPForms and Gravity Forms offer the most reliable file upload functionality with drag-drop interfaces, security features, and cloud storage integration.
Contact Form 7 works for basic uploads but lacks advanced validation. Choose based on your security requirements and budget.
How do I increase the file upload size limit?
Edit php.ini to increase upload_max_filesize, post_max_size, and memory_limit values.
Alternatively, modify .htaccess or contact your hosting provider if you can’t access server configuration files. Restart Apache or Nginx after changes.
What file types should I allow for uploads?
Allow only necessary file types using a whitelist approach (PDF, DOC, DOCX, JPG, PNG for most forms).
Block executable files (.exe, .php, .sh) and scripts that could compromise your site security. Use MIME type verification, not just extension checking.
Where does WordPress store uploaded files?
WordPress saves uploads to wp-content/uploads organized by year and month subdirectories by default.
You can redirect uploads to custom directories using the upload_dir filter or integrate cloud storage like Amazon S3 for offsite storage.
How do I secure file uploads from malware?
Install security plugins like Wordfence or Sucuri that scan uploads for malicious code in real-time.
Restrict file types, set size limits, verify MIME types, and never allow executable files. Store uploads outside publicly accessible directories when possible.
Can users upload multiple files at once?
Yes, enable multi-file uploads in your form builder settings by setting maximum file count limits.
Users can select multiple files using Ctrl+Click or drag several files into drop zones simultaneously. Set reasonable limits (3-5 files) to prevent server overload.
How do I attach uploaded files to email notifications?
Configure your form plugin’s notification settings to include attachments in admin emails.
Be aware that most email servers limit attachments to 25MB total. For larger files, send download links instead of direct attachments.
What’s the difference between required and optional file uploads?
Required fields block form submission until users attach files, perfect for job applications or document-dependent processes.
Optional uploads work better for supplementary materials where submissions remain valid without attachments. Set clear validation rules for each.
How do I add file uploads to mobile forms?
Use HTML5 file inputs with the capture attribute for direct camera access on mobile devices.
Design touch-friendly upload buttons with minimum 44px tap targets and test on actual mobile devices, not just browser emulators.
Can I integrate uploaded files with my CRM?
Yes, connect forms to Salesforce, HubSpot, or Pipedrive using Zapier, Make, or direct API integration.
Files automatically attach to contact records without manual downloads. Sales teams access prospect documents instantly within their existing workflow tools.
Conclusion
You now know how to create a WordPress form with file upload using plugins like Contact Form 7, WPForms, or Gravity Forms.
Configure file type restrictions, set upload size limits through PHP settings, and implement security scanning to protect against malicious files. Store uploads in custom directories or integrate cloud storage for better organization.
Test your upload functionality across browsers and mobile devices. Monitor server performance during peak submission periods.
File uploads transform basic contact forms into powerful tools for job applications, support tickets, and client intake processes. Start with security settings first, then customize the frontend interface to match your site design.

