The Email field is used to collect valid email addresses from users. It supports built-in email validation and an optional confirmation step to ensure accuracy before submission. This article explains how the Email field works, which settings you can adjust, and how to configure it inside the form builder.
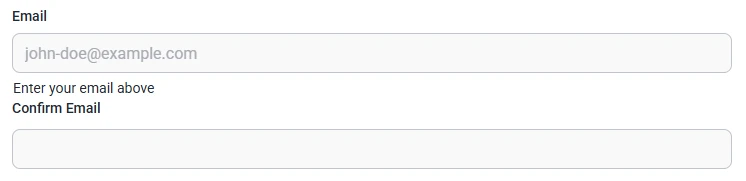
Front-end appearance
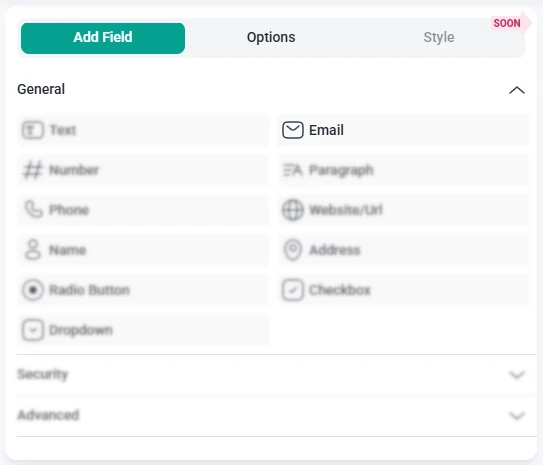
Where can I find the Email field in IvyForms?
To add an Email field, open the General Fields section in the left panel of the builder. The Email option will appear in the list of inputs you can add to your form.
What settings can I configure for the Email field?
Once you click the Email field inside the form preview, the left panel changes from Add field to Options. Here, you’ll find all available settings, including General, Advanced, and Smart logic.
How do general settings work for the Email field?
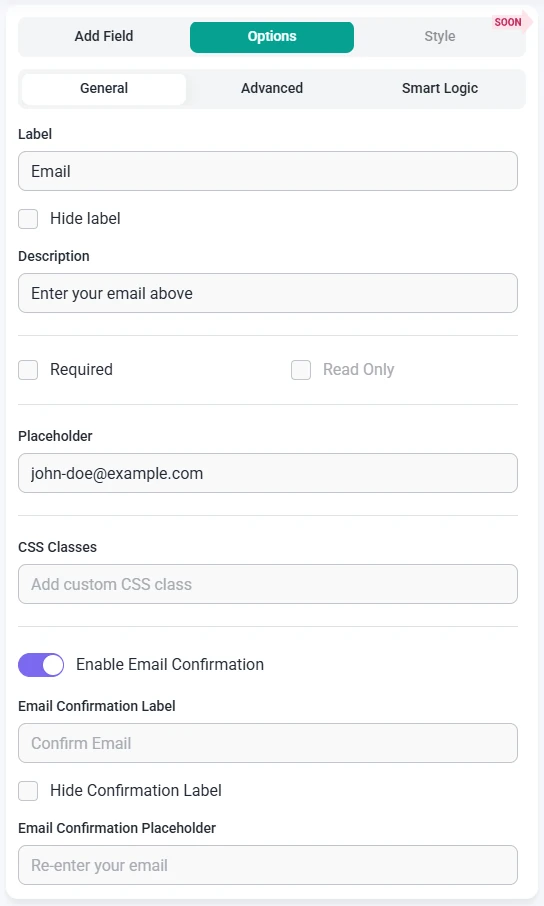
Open the General tab to access the basic configuration options for the Email field. These settings let you control the label, description, validation behavior, and overall appearance.
Label – defines the field name displayed to users.
Hide label – hides the field label on the front-end.
Description – adds helper text below the field.
Required – ensures the user must enter a valid email to proceed.
Read-only – prevents users from changing the pre-filled value.
Enable email confirmation – adds a second email input for users to confirm their email address.
How can I use Email confirmation?
The Email field includes an option called Enable email confirmation. When this setting is turned on, the form displays a second email input that users must re-enter to confirm their address. The form will only submit when both email values match, which helps prevent typos and ensures the email is correct.
When email confirmation is enabled, the following additional settings appear for the second input:
Email confirmation label – sets the label for the confirmation field.
Hide confirmation label – hides the second label on the front-end.
Email confirmation placeholder – displays example text inside the confirmation input.
These options work the same way as the main Email field settings, allowing you to match the design and layout of both inputs.
How do advanced settings work for the Email field?
The Advanced tab includes extra settings that let you fine-tune how the Email field behaves and how its value is handled.
Limit maximum length – restricts total characters allowed in the email input.
Default value – pre-fills the Email field with an editable value.
Label position – adjusts where the label appears (Default, Left, Right).
No duplicates – prevents the same email address from being submitted more than once.
How can I use smart logic with the Email field?
Smart Logic is available only in the Pro version of IvyForms.
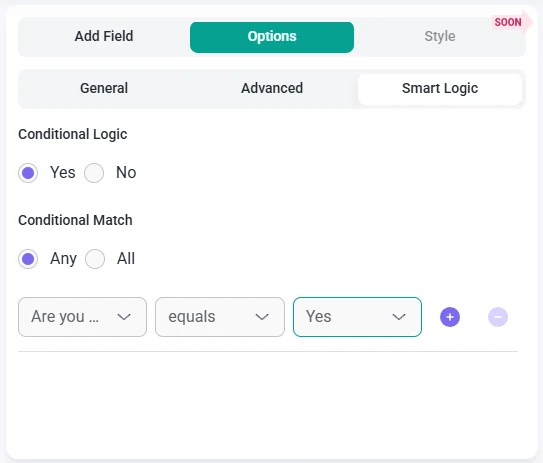
The Smart logic settings allow you to show or hide the Email field based on rules you define. Smart logic is disabled by default. When you switch it to Yes, additional conditional settings become available.
When enabled, the Conditional match section appears with two options:
Any – the Email field is shown if any of the defined conditions are met.
All – the Email field is shown only if every selected condition is met.
Smart logic relies on other fields in the same form, so it becomes useful once your form includes multiple elements. This allows you to display the Email field only when relevant, depending on how users interact with earlier fields.
Guides
Explore the IvyForms documentation through key sections like Get Started,
Form Creation, Entry Management, Settings, Integrations, Advanced Features,
and Support & Troubleshooting to make the most of your form-building experience