After you install and configure IvyForms, you can start building your first form directly from your WordPress dashboard. From there, the process is simple, visual, and requires no coding knowledge.
IvyForms uses a modern drag-and-drop interface that lets you add, reorder, and customize fields quickly. In addition, you can style each form to match your website’s look and feel.
Where can I create a new form?
To create a new form, go to: WordPress Dashboard → IvyForms → New Form
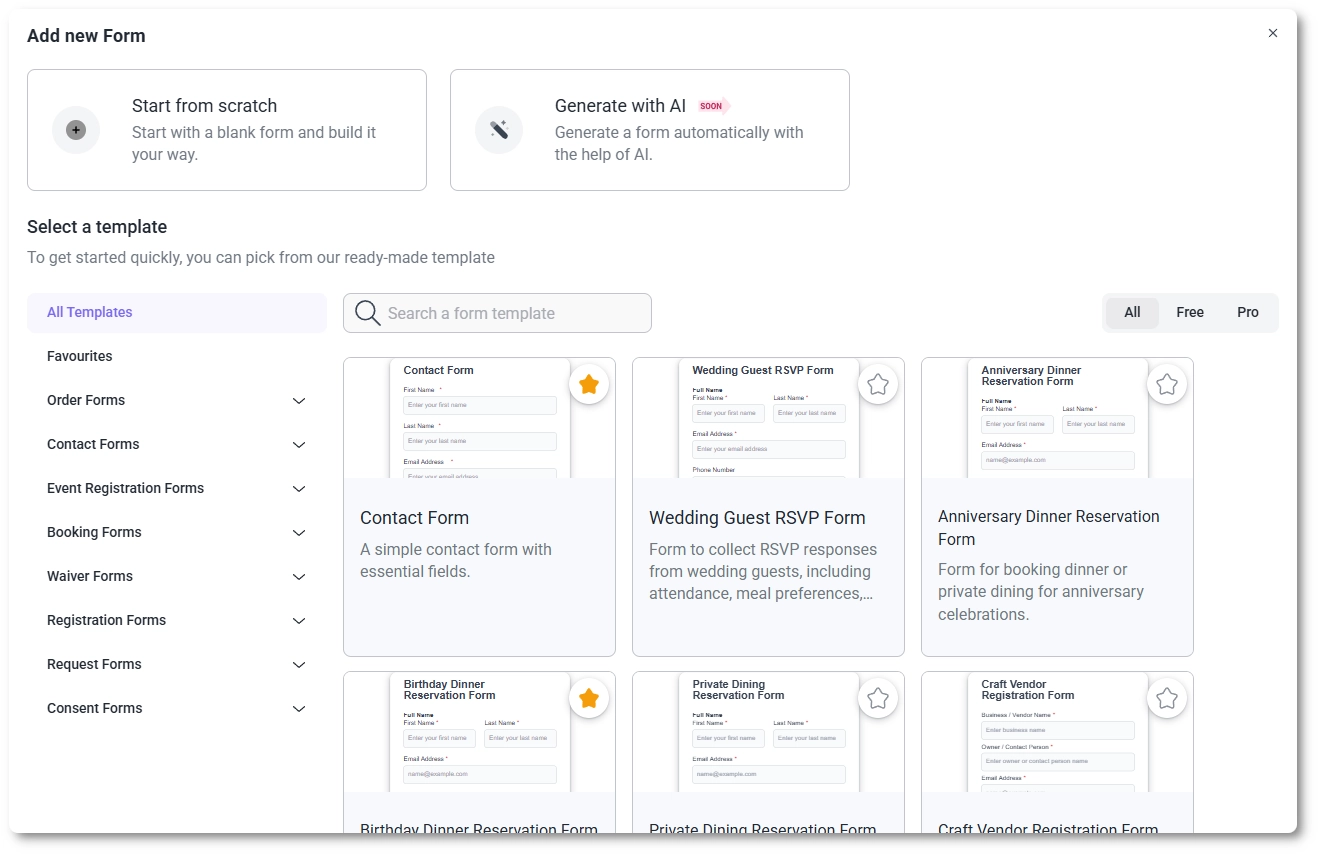
When you click New Form, a popup appears with several ways to start your form:
Start from scratch — build your form manually using the drag-and-drop builder.
Generate with AI — an upcoming feature (currently labeled Soon) that will help you create a form automatically using AI.
How do I create a form using existing templates?
When creating a new form, you can start by selecting one of the available templates from the template selection popup. IvyForms offers a wide range of free and premium form templates, organized into categories and subcategories on the left side, making it easier to find a suitable starting point.
You can mark a template as a favorite by clicking the star icon in the top-right corner of the template preview. When hovering over a template, you can preview it or click Use this template to start working with it.
The preview allows you to interact with the form fields, but the Submit button is disabled and does not send any data. Within the preview window, you can also switch between desktop, tablet, and mobile views to see how the form will look on different devices.
Once you select a template, it becomes fully editable. You can change field types, adjust field options, add or remove fields, and customize the form to match your needs.
How do I create a form from scratch?
Select Start from scratch to open the form builder interface. This is where you’ll add and organize fields, preview your design, and configure the form’s behavior.
If you’ve already created some forms, you can also use the + Form button located on the All Forms page to start a new one quickly.
When you open the form builder, IvyForms automatically saves your new form and adds it to the All Forms table. Any changes you make afterward must be saved manually using the Update button in the top-right corner.
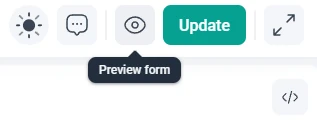
At the top of the interface, you’ll find quick-access tools for toggling Light/Dark Mode, accessing Support, Previewing the form, and enabling Full Screen view (you can also press F11 for a distraction-free workspace).
How do I add and organize form fields?
On the left panel, under the General category, you’ll see all available field types — Text, Email, Number, Paragraph, Phone, Website/Url, Name, Address, and Radio Button. Some options like Dropdown or Checkbox are marked as Soon and will arrive in future updates.
To build your form, drag a field from the left panel into the main form area. You can also click a field once to add it automatically below the last one. Once a new field is added, the form automatically scrolls down so the new field is in view.
Fields in IvyForms are not limited to a single vertical layout. You can resize fields to control their width and place multiple fields next to each other in the same row. This makes it easy to create multi-column layouts. Currently, up to five fields can be placed in a single row. When all five slots are used, the fields are evenly sized; with fewer fields, their widths can be adjusted manually.
You can reorder fields by dragging them up or down, move them within the same row by dragging left or right, and edit their labels or placeholders by clicking on each field once it’s added.
Continue adding as many fields as you need to collect the information you want. As you add or remove fields, the builder automatically updates the layout.
How can I preview my form?
At any time, you can preview how your form will appear to visitors by first clicking Update to save your changes, then selecting the Preview icon in the top-right corner of the builder.
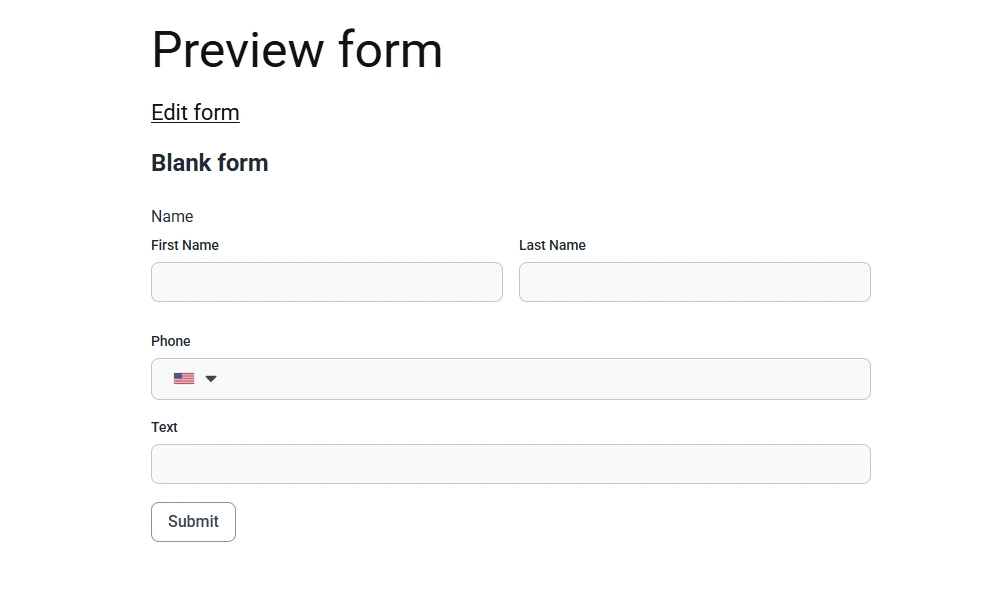
A new tab opens with a live preview that shows exactly how your form will look on your website.
The preview automatically adapts your form to your WordPress theme’s styling, ensuring the form blends naturally with your site’s design.
How can I configure basic form settings?
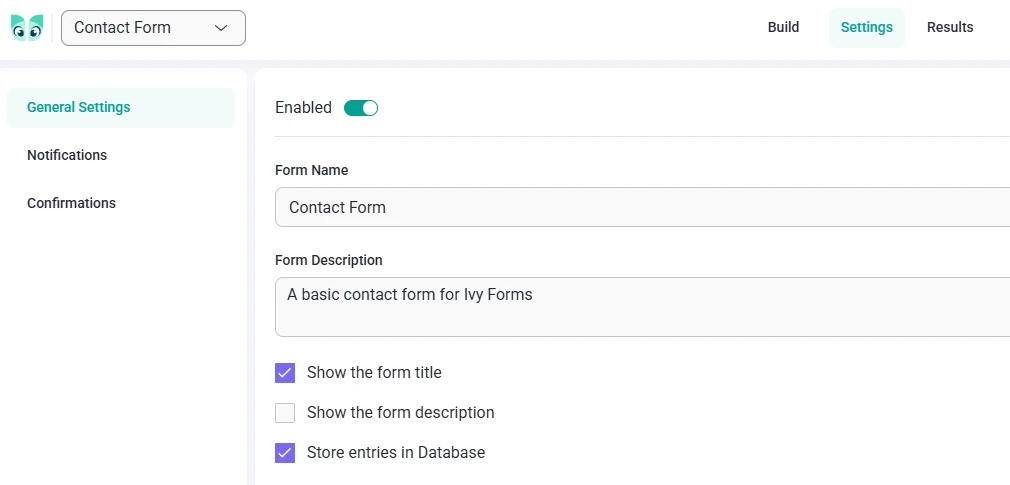
Before publishing your form, open the Settings tab at the top of the builder. In this section, you can define your form’s basic details and control what appears on the front-end.
Under General Settings, you can:
Rename your form — give it a clear and recognizable title instead of the default “Blank form.”
Add a description — include short instructions or context for users filling out the form.
Show or hide the form title and description — decide whether these should appear on your website.
Store entries in the database — enable this option to save form submissions directly in WordPress (enabled by default).
Once you’ve made your changes, click Save in the top-right corner to save them.
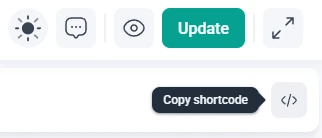
When your form is ready, go back to the Build tab. In the top-right corner, you’ll find a </> button that copies the shortcode in this format: [ ivyforms id=2 ]
Clicking that button copies the shortcode to the clipboard. You can then paste it into any page or post using the WordPress block editor.
After you publish the page, your form appears live and ready to receive submissions.
What’s next?
You’ve now created, configured, and published your first form using IvyForms! From here, you can continue by exploring the next sections:
Explore the IvyForms documentation through key sections like Get Started,
Form Creation, Entry Management, Settings, Integrations, Advanced Features,
and Support & Troubleshooting to make the most of your form-building experience