Your Christmas Upgrade: Better Forms
Up to
70%Off
Table of Contents
Keeping IvyForms up to date ensures that you always have access to the newest features, performance improvements, and security fixes. You can update the plugin automatically from your WordPress dashboard or manually upload the latest version if you’ve downloaded it from your account or WordPress.org.
If you installed IvyForms from the WordPress plugin repository, updates are handled directly through your admin panel.
Once updated, you’ll see a confirmation message and the latest version number next to IvyForms in your plugin list.

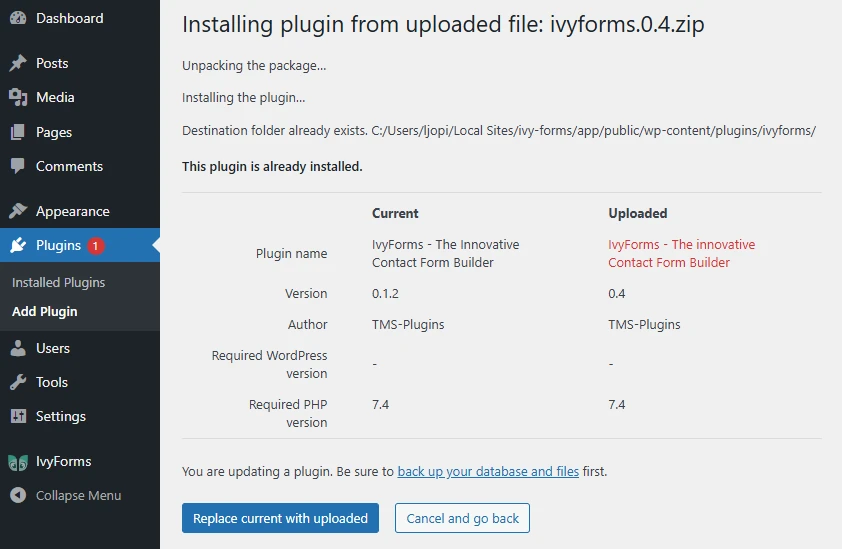
If you downloaded the latest IvyForms ZIP file manually (for example, from WordPress.org or your IvyForms account), you can update it through the Upload Plugin option.
ivyforms.zip file to your computer.ivyforms.zip file and click Install Now.
This method updates your plugin safely while keeping your existing data and forms unchanged.

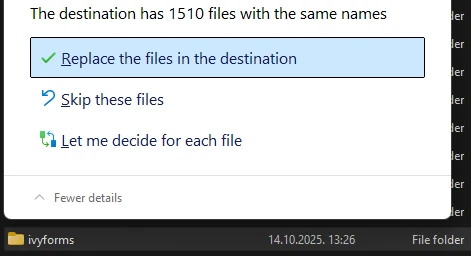
Yes — you can also update IvyForms manually via FTP if you prefer direct file management or if dashboard updates aren’t working.
/wp-content/plugins/ directory.ivyforms folder and rename it to ivyforms-old as a backup.ivyforms folder to the same directory.
This approach fully replaces plugin files and guarantees you’re running the newest version, even when automatic updates are disabled.

To verify the update, go to Plugins → Installed Plugins and check the version number displayed next to IvyForms. You can also open the IvyForms dashboard — the version number appears at the bottom of the interface.
If something looks off after updating, clear your browser and website cache before checking again. Cached files may temporarily show the previous version or styling.

Once IvyForms is updated, you can explore the new features and improvements included in the latest version. Check out the Changelog page to see what’s new, or continue with the next guide to configure your plugin settings and notifications.