The Signature field is available only in the Pro version of IvyForms.
The Signature field lets users draw a handwritten signature directly inside the form. It is typically used for confirmations, approvals, agreements, and any situation where a visual signature is needed. This article explains how the Signature field works, how it looks on the front end, and which settings you can configure in the builder.
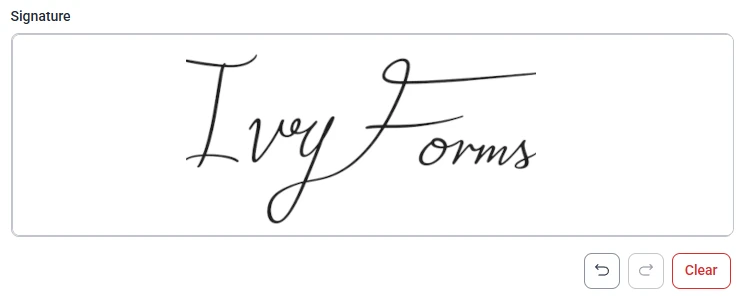
Front-end appearance
Where can I find the signature field in IvyForms?
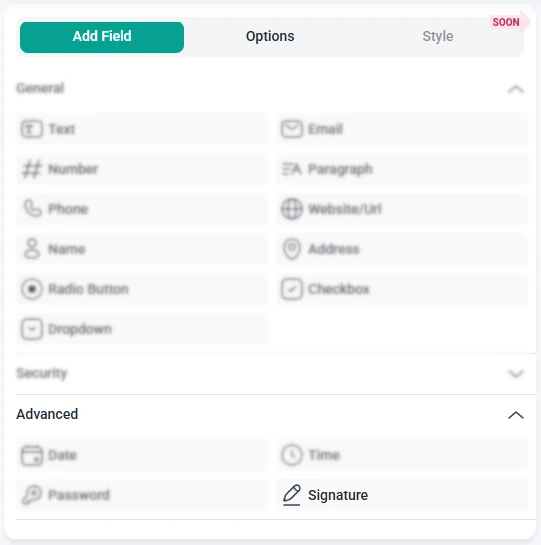
The Signature field is located inside the Advanced section in the left panel of the builder. When you expand this section, you will see the Signature option along with Date, Time, and Password. Click it once to add it to your form, then select the field in the preview area to open its configuration options.
What settings can I configure for the signature field?
Once the Signature field is selected in the preview, the sidebar switches to the Options panel. Here you can adjust the field’s label, required status, drawing area width, and other appearance settings. Additional options are available under the Advanced and Smart logic sections.
How do general settings work for the signature field?
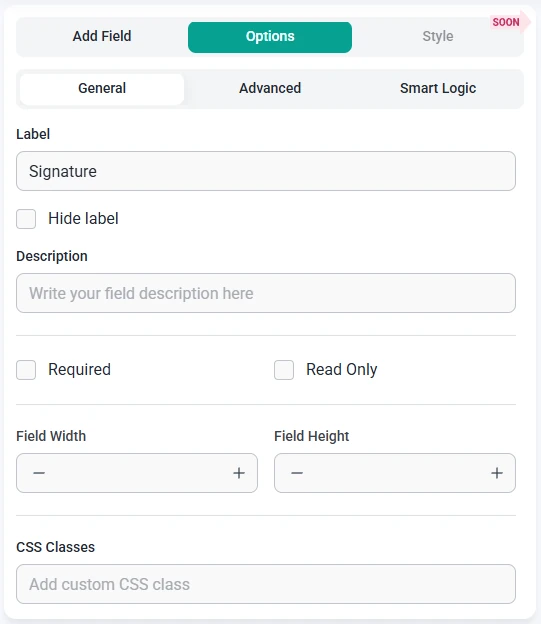
The General tab contains the main appearance and behavior options for the Signature field. These settings determine how the field is displayed to users and how large the drawing area is.
Label – sets the title displayed above the signature area, such as “Signature” or “Sign here”.
Hide label – removes the visible label while keeping the signature box active.
Description – adds optional text below the label to guide users, such as “Please sign using your mouse or touchpad”.
Required – ensures users must provide a signature before submitting the form.
Read-only – disables drawing on the signature area, showing an existing signature without allowing changes.
Field width – defines the width of the signature panel (typically in pixels). This controls how wide the drawing space appears on the front end.
CSS classes – lets you add custom class names for styling the Signature field using your own CSS rules.
On the front end, users can draw directly inside the signature area. The controls include:
Pencil icon – activates drawing mode so users can sign with their mouse or touchpad.
Undo – reverts the last stroke made during the signature.
Redo – restores a previously undone stroke.
Clear – removes the entire signature, allowing users to start over.
How do advanced settings work for the signature field?
The Advanced tab offers one global setting for the Signature field:
Label position – controls where the label appears relative to the signature box. You can keep the Default position or move it to the Top, Left, or Right depending on your form layout.
How can I use smart logic with the signature field?
Smart Logic is available only in the Pro version of IvyForms.
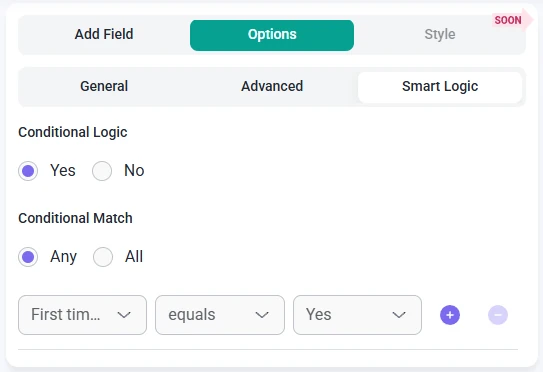
The Smart logic settings allow you to show or hide the Signature field dynamically based on other answers in the form. Smart logic is disabled by default. When enabled, you can create rules that determine when a signature should be required.
After enabling smart logic, the Conditional match setting lets you choose how rules should be interpreted:
Any – the Signature field is shown when at least one condition is met.
All – the Signature field is shown only when all defined conditions are true at the same time.
This allows you to require signatures only in situations where they are needed — for example, after selecting a specific consent option, choosing a contract-related form type, or confirming that a user agrees to certain terms.
Guides
Explore the IvyForms documentation through key sections like Get Started,
Form Creation, Entry Management, Settings, Integrations, Advanced Features,
and Support & Troubleshooting to make the most of your form-building experience