







MCP is ready out of the box
IvyForms MCP is enabled by default, no extra setup on the plugin side. If you ever need to manage it, find it at IvyForms → Settings → General.
Built in. On by default.
Ask your AI assistant to create and manage forms or retrieve entry data without navigating WordPress. IvyForms MCP securely connects your forms to any MCP-compatible AI client.


Works natively with Angie
Elementor's free in-browser AI assistant for WordPress admins.
IvyForms MCP is enabled by default, no extra setup on the plugin side. If you ever need to manage it, find it at IvyForms → Settings → General.
IvyForms MCP is enabled by default, no extra setup on the plugin side. If you ever need to manage it, find it at IvyForms → Settings → General.
Built in. On by default.

In-browser: install Angie (Elementor’s free AI agent). External: connect Claude Desktop, Cursor, or Claude Code to the MCP endpoint.
Same session permissions as your WordPress admin login.

Ask in plain language. The AI calls IvyForms
tools, creating fields, listing entries, setting
up notifications, and the results appear in WordPress.
You give the instruction. IvyForms executes it.
Angie is Elementor’s free AI assistant. Install the Angie plugin and IvyForms tools appear automatically in your WordPress admin. No external setup required. Requires WordPress 6.9+.
For developers: connect Claude Desktop, Cursor, or Claude Code directly to the IvyForms MCP endpoint. More technical setup — see the external client documentation.

IvyForms MCP is not a chatbot built into the plugin. There is no new interface inside IvyForms. You bring your own AI client, like Angie, Claude, Cursor, or another MCP-compatible tool, and it calls IvyForms through the authenticated MCP endpoint.
IvyForms MCP exposes tools across six areas. From creating a form from scratch to reviewing entry counts and setting up email notifications; all through natural language and all in real time.

Create new forms from scratch, duplicate existing ones, add and reorder fields, or update field settings through plain-language instructions. The AI handles the structure; IvyForms handles the logic.
Build a form from scratch with a title and initial fields. Immediately available in your WordPress admin.
"Add a required phone field after the email field on the contact form." Done.
Duplicate an existing form as a starting point, or copy a field within a form without rebuilding.

List all forms, open a specific form's details, update its settings or status, or check which templates are available without opening the WordPress admin panel yourself.
Get a list of all your forms with their names, IDs, and status. Useful for orientation before making changes.
Activate or deactivate a form, or update its general settings, without leaving your AI conversation.

List form submissions, get entry counts, view a summary, or star entries to flag them directly through your AI assistant. Submission data values are masked for privacy.
See which entries exist for a form, with timestamps and status. Useful for checking volume and recent activity.
"How many entries did the registration form get this week?" — the AI counts and reports back.
Star entries to flag them, or get a direct admin link to view a full submission in WordPress.

Create, update, and manage email notifications and check what integrations are active on each form. The AI can handle the setup and you review before anything goes live.
List, create, update, duplicate, and search notifications for any form. "Set up a notification for the contact form that sends to [email protected]."
List all active integrations and view their status on each form. Useful for quickly auditing which forms have Mailchimp, webhooks, or Google Sheets connected.
Watch an AI assistant turn plain-language instructions into real IvyForms changes. The user types a request, the AI calls the matching IvyForms MCP tool, and the result appears in WordPress, validated by IvyForms' existing form logic.
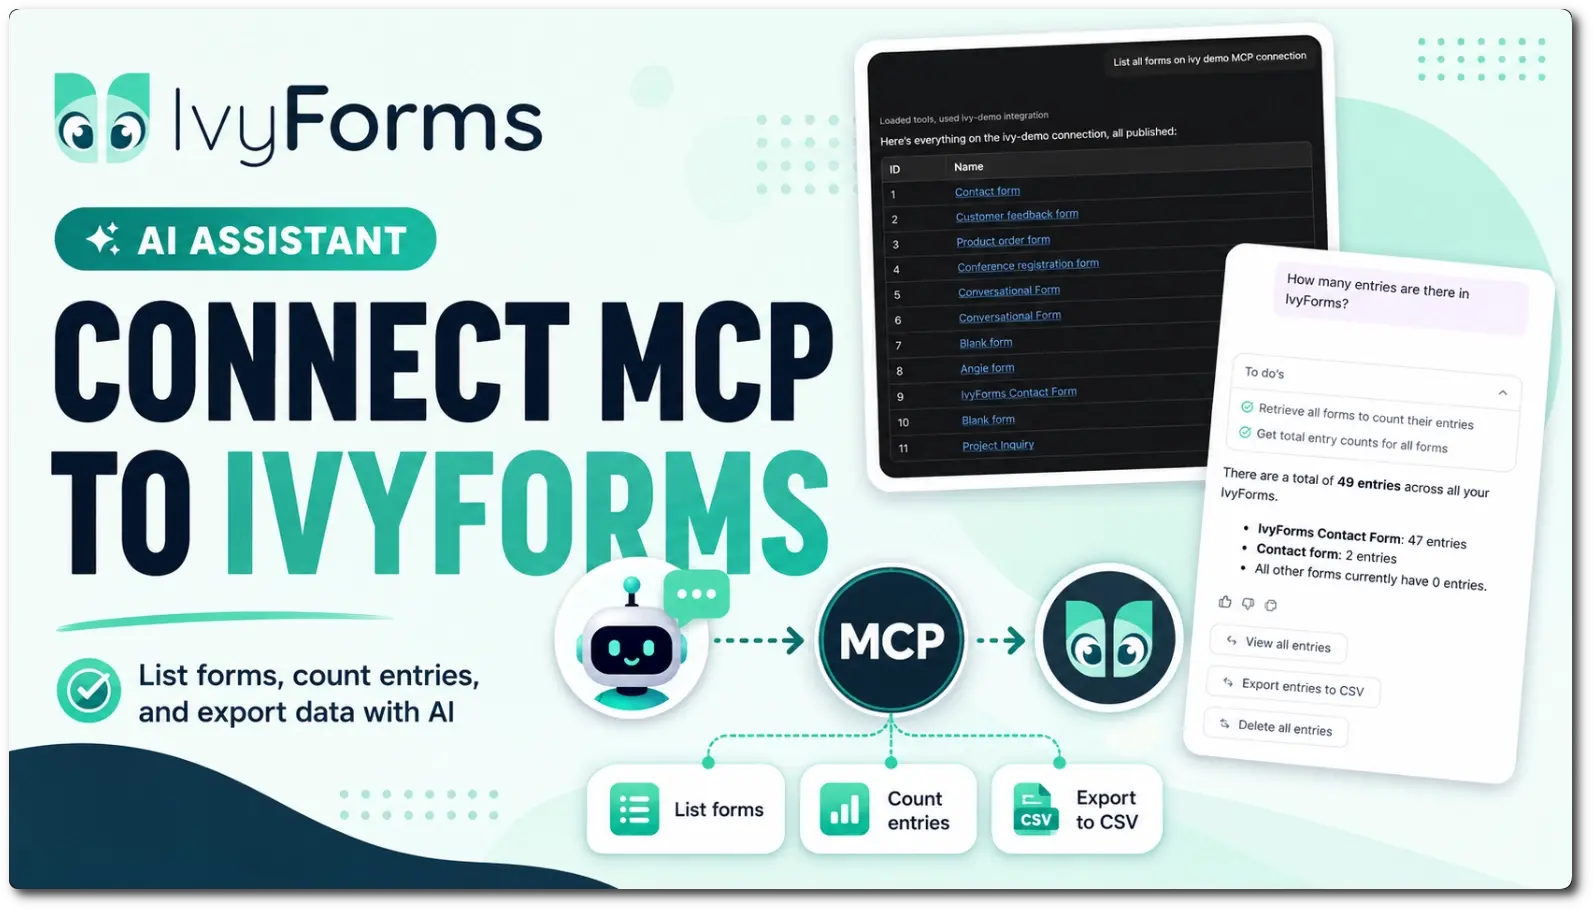
IvyForms MCP is built into the plugin and enabled by default, there's nothing to install or configure on the IvyForms side. All you need to do is connect the AI client you want to use.

Install Angie from the WordPress plugin directory (free). Requires WordPress 6.5+. Create a free Elementor account on first activation, no paid license needed.

Open any IvyForms admin page. Angie’s chat interface appears in the sidebar. Ask it to work with your forms in plain language.
Enable MCP in IvyForms (same step 01 as above), then configure your external AI client to connect to the IvyForms MCP endpoint:
/wp-json/mcp/ivyforms-mcp-server
Requires an application password for authentication.
IvyForms isn't the only plugin in the family with AI capabilities. Amelia and wpDataTables also expose MCP-compatible tools, creating a connected workflow across form collection, appointment booking, and data analysis.

Create forms, add fields, manage entries, and set up notifications through your AI assistant.

Create appointments, list services and employees, add customers, and assign to recurring events.

Query table data and build AI-assisted reporting workflows from form submissions and booking data.
With MCP enabled, the AI can create and edit forms, add and reorder fields, list and count entries, create and manage notifications, list integrations, and view plugin settings (read-only). A full list is in the documentation.
The AI cannot delete forms, entries, or notifications. It cannot change plugin settings. Entry submission values, IP addresses, and secrets are masked in MCP responses, as the AI can’t read raw form data. Only site administrators can use MCP; subscribers and guests cannot.
Angie is Elementor’s free in-browser AI assistant for WordPress. It’s free to install and use during its beta. You need a free Elementor account (no paid license required). Angie runs on daily-renewing credits.
Yes. Claude Desktop, Cursor, and Claude Code can connect directly to the IvyForms MCP endpoint. This setup is more technical, so you’ll need to configure the endpoint URL and create an application password. See the external MCP client documentation for details.
MCP requires WordPress 6.9 or newer (which bundles the WordPress Abilities API). If you’re using Angie in-browser, Angie itself requires WordPress 6.5+.
No. MCP is enabled by default, there’s nothing to turn on inside IvyForms. Just install your preferred AI client and you’re ready to go. If you ever need to disable it, the option is at IvyForms → Settings → General.
Check that the MCP toggle is on in IvyForms settings, you’re on WordPress 6.9+, the Angie plugin is active, and you’re logged in as a site administrator on an IvyForms admin page. A 404 error on the MCP URL means MCP is still disabled. Permission errors mean you’re not logged in as an admin.
No. Entry field values, IP addresses, and user agents are masked in MCP responses. The AI can see entry metadata (timestamps, count, star status) but not the actual form answers. To view full submission data, you open the entry in WordPress via the admin link.
The AI acts with the same permissions as the WordPress user it’s connected through, which must be a site administrator. It has real edit access to forms, fields, and notifications, but cannot delete data and cannot change plugin settings. Enable MCP only when you’re actively using an AI assistant.
Yes. With IvyForms and its free MCP connection enabled, you describe the form in plain language and your AI assistant builds it in WordPress — adding fields, setting required rules, and wiring up notifications. It’s a true AI form builder, not a template picker.
Yes. The IvyForms plugin and the MCP connection are free. You bring your own AI client (Elementor’s Angie is free; Claude, Cursor and Claude Code also work), so there are no per-seat AI fees from IvyForms.
Most “AI form builders” are hosted SaaS tools that keep your data on their servers. IvyForms is built for WordPress: the AI creates and edits real IvyForms forms inside your own site, and submissions stay in your WordPress database.
— Subscribe today!
Become an early user and enjoy exclusive benefits


